

Last updated September 20, 2026
Full 25-point door and opener safety check with every visit - springs, cables, rollers, tracks, and your LiftMaster or Chamberlain opener included
You get a price before we start. It does not change when the truck arrives.
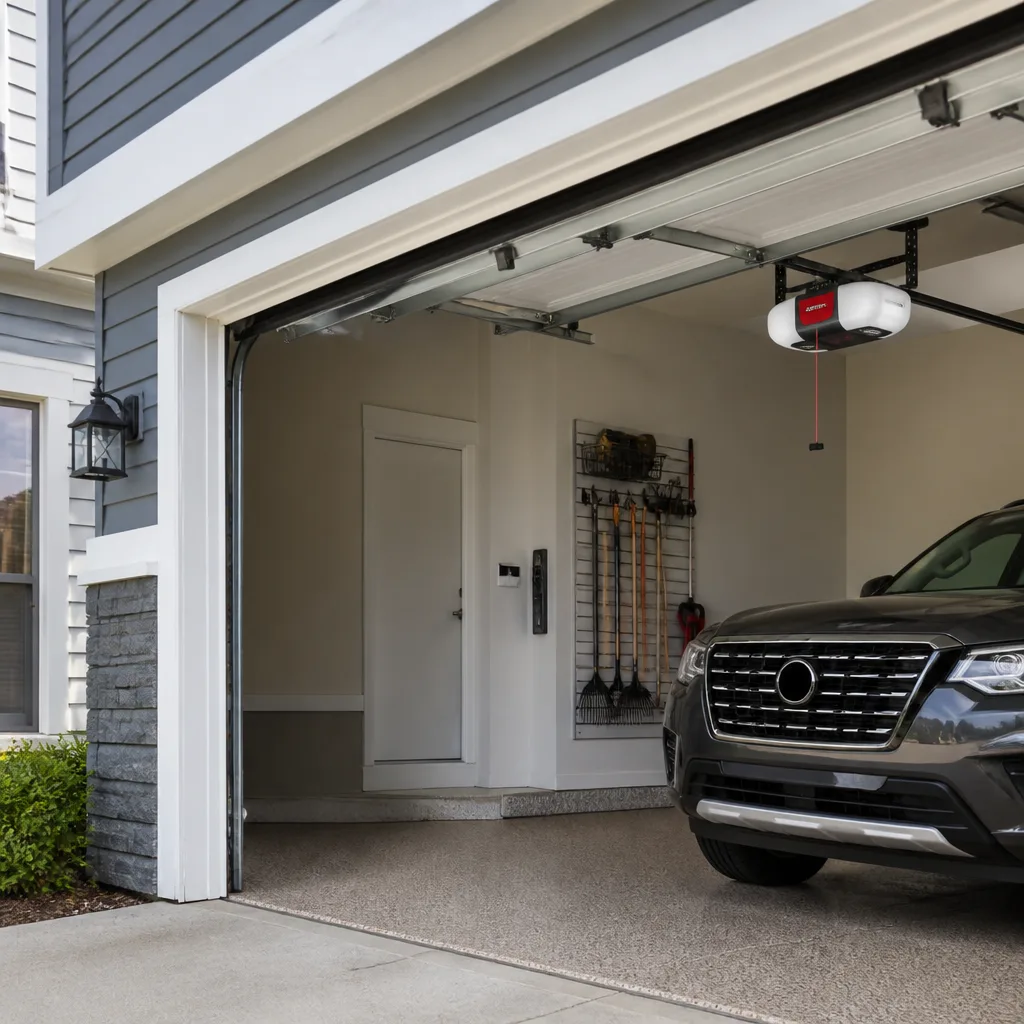
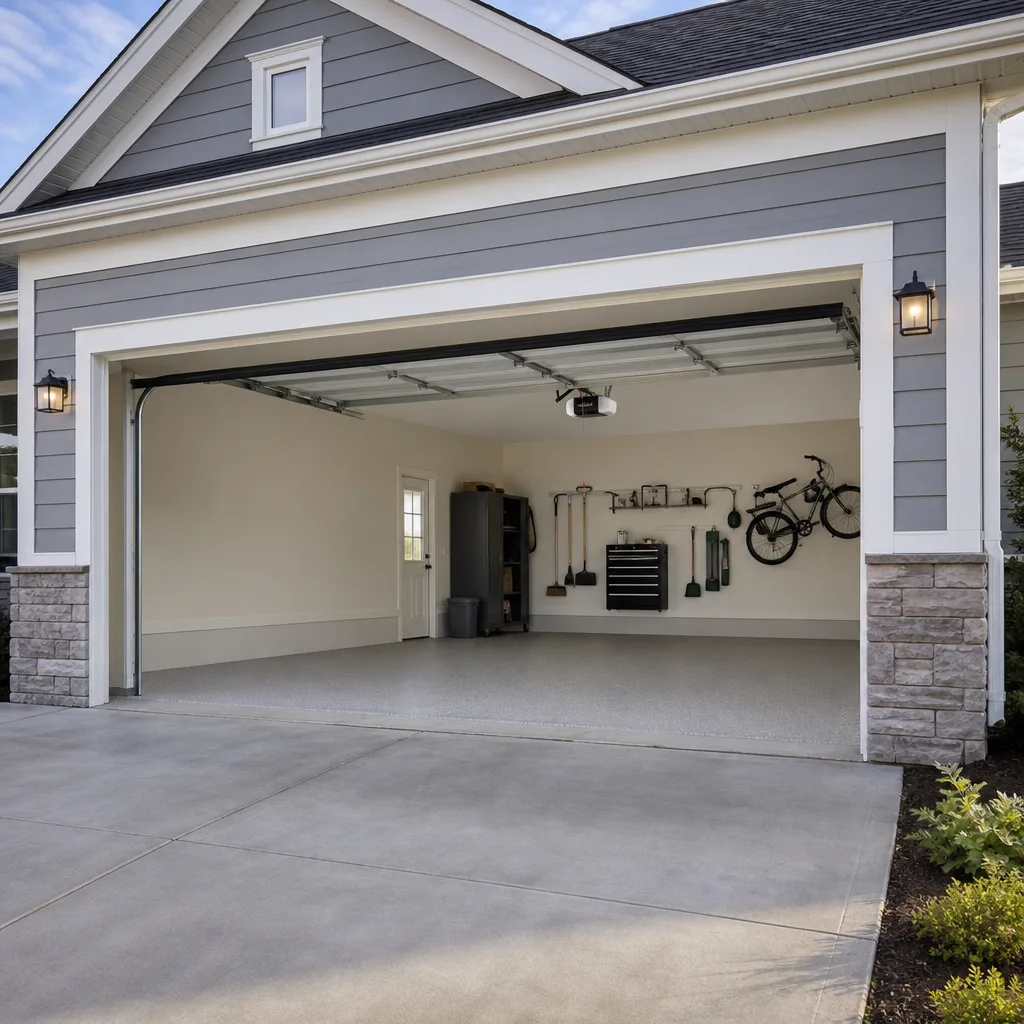
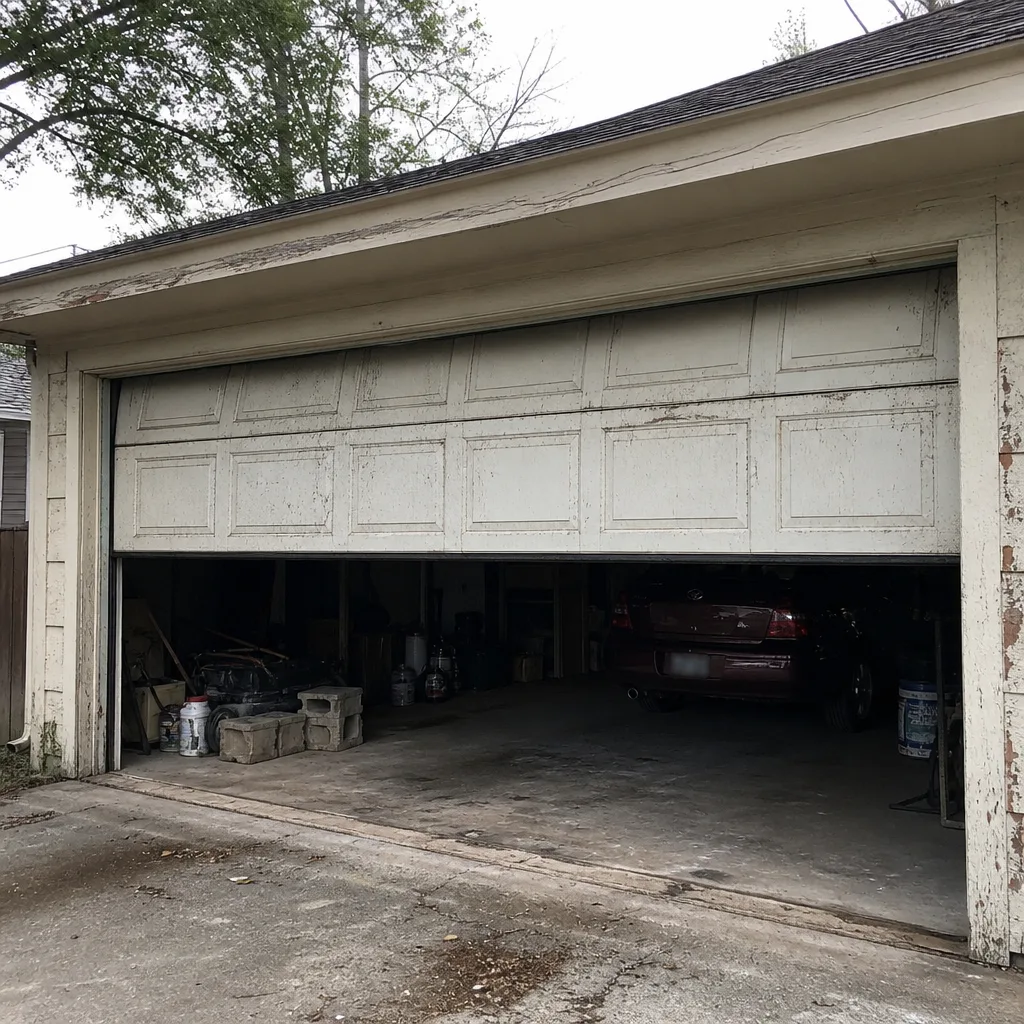 Before
 After
After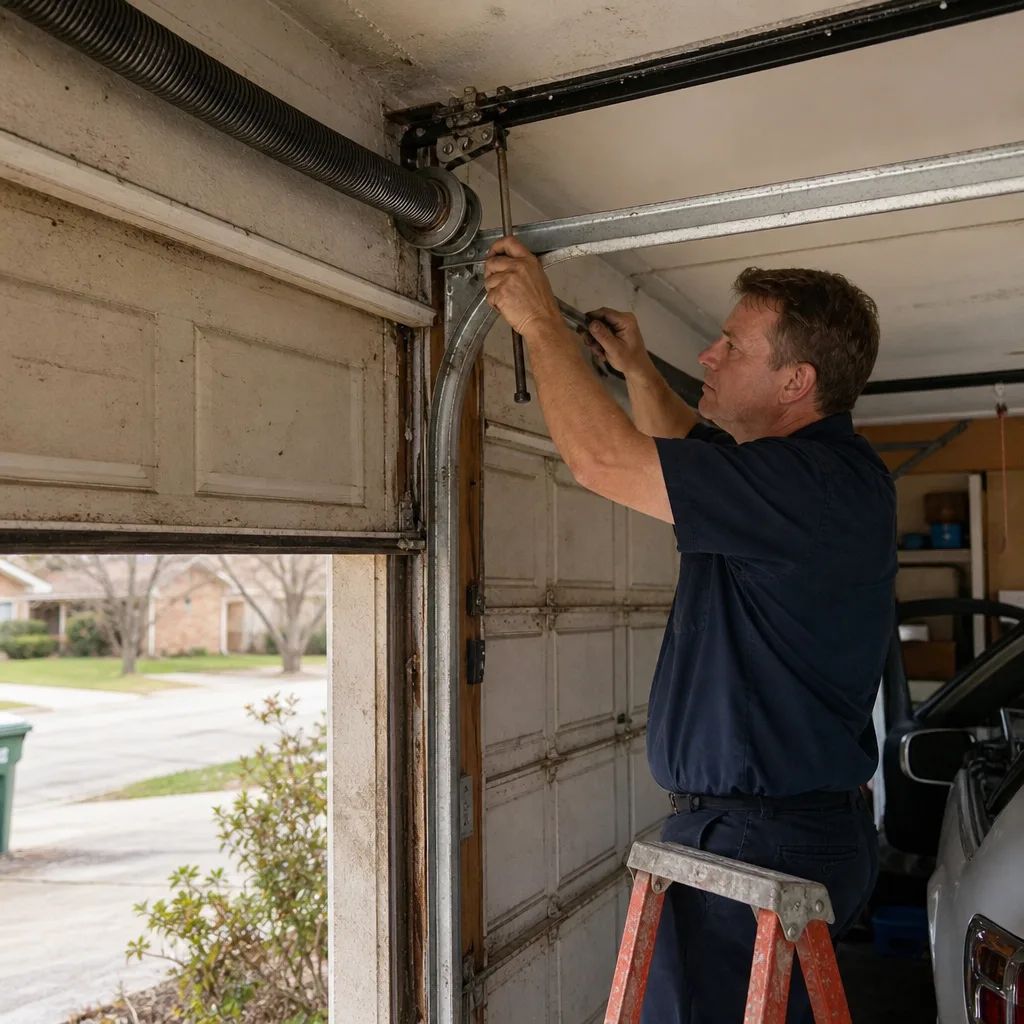 Before
 After
After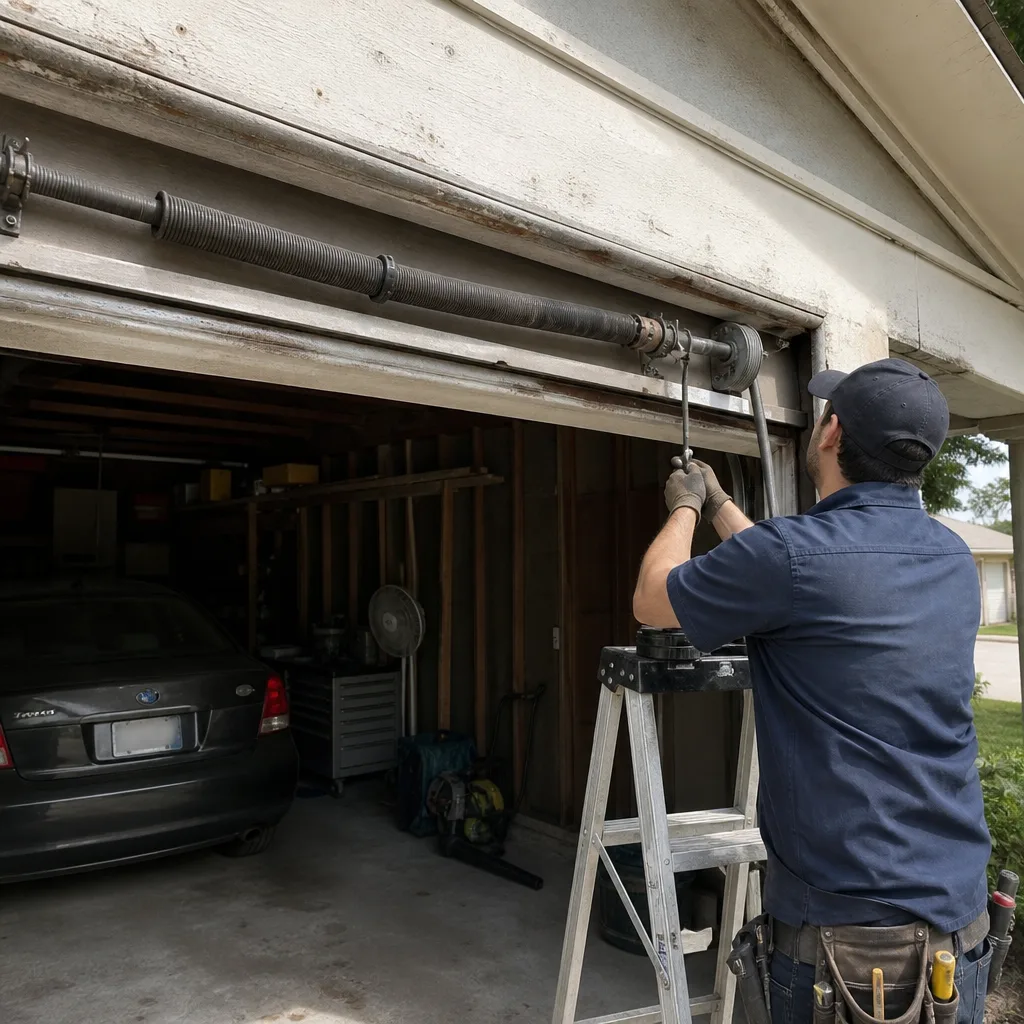 Before
 After
AfterDIY vs Professional Garage Door: The Arlington Homeowner’s Decision Guide
A torsion spring under full tension stores roughly the same energy as a mid-size car traveling at 25 miles per hour. When that spring snaps, the energy releases in a fraction of a second, and anything in its path takes the hit. That’s not a liability disclaimer written by lawyers. It’s the mechanical reality of how garage doors work, and it’s the reason the smartest DIY line for Arlington homeowners isn’t drawn at “can I figure this out?” but at “what happens if I’m wrong?” This guide walks through the component-by-component decisions so you know which repairs are genuinely weekend work, which need a technician’s tools and training, and why the difference matters more in Arlington’s heat than the manufacturer’s manual ever tells you. For a complete maintenance checklist Arlington homeowners can follow safely, see our companion resource.
Quick Answer
Most Arlington homeowners can safely handle bottom seal replacement, weather stripping, and programming a new remote. Torsion springs, extension springs, and cables carry enough stored tension to cause serious hand, arm, or face injuries when mishandled, and those should always go to a licensed professional. DIY opener installation is possible with the right tools and two careful people, but the safety sensor alignment and force settings are where installers earn their fee and where DIY mistakes create real safety gaps.
Table of Contents
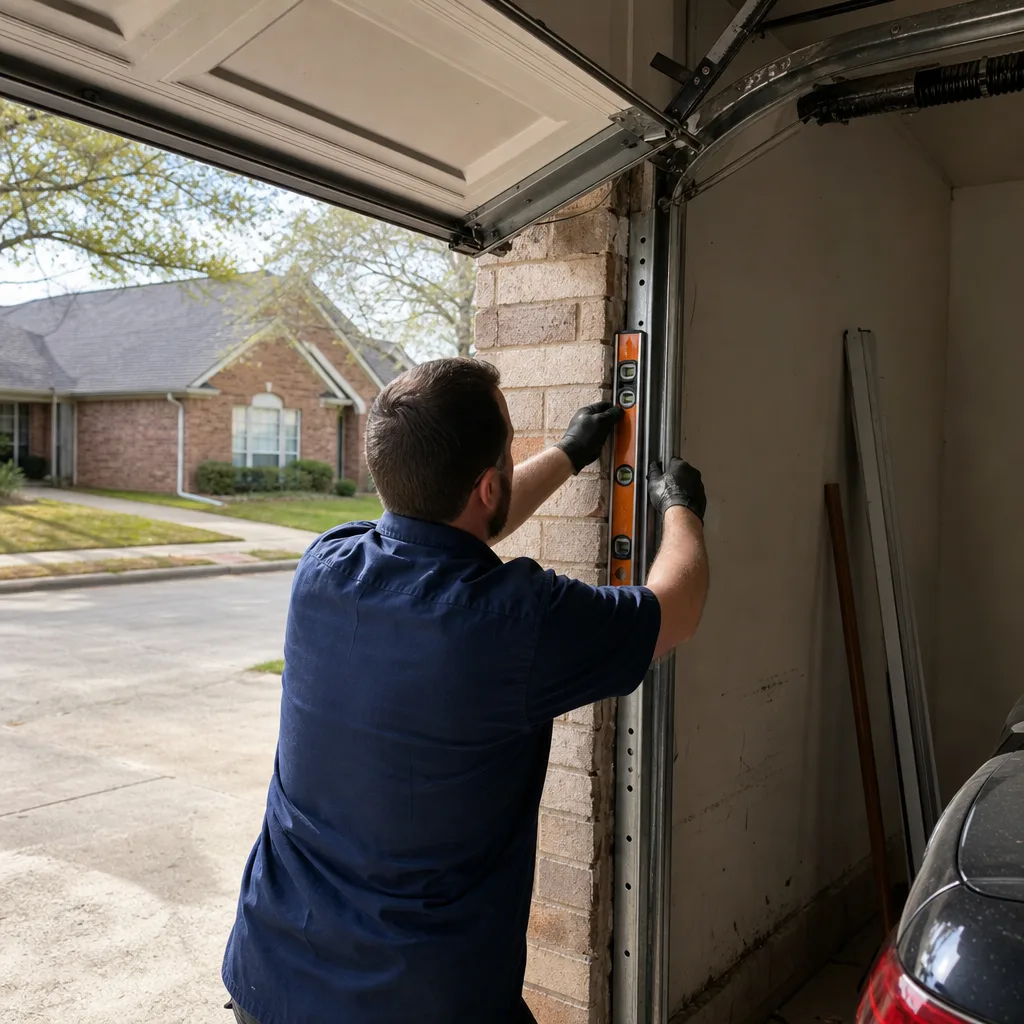
- The DIY Line: Drawing It by Component, Not by Confidence
- Why Torsion Springs and Cables Are Not a DIY Project
- The Reasonable DIY List: What Arlington Homeowners Can Actually Do
- What DIY Opener Installation Really Requires
- The True Cost of a DIY Torsion Spring Attempt Gone Wrong
- Using Professional Documentation to DIY Future Maintenance
- Arlington Heat and UV: Why Manufacturer Timelines Don’t Match Local Reality
- What Professional Repair Actually Costs in Arlington
BeforeAfterThe DIY Line: Drawing It by Component, Not by Confidence
There’s a recurring pattern we see in Arlington, and it goes like this: a homeowner successfully replaces a wall outlet, then a faucet, then a ceiling fan, and the confidence compounds into “how hard can a garage door spring be?” The answer isn’t about difficulty. It’s about the consequences of a mistake. A bad drywall patch looks bad. A bad garage door spring repair can put you in the emergency room with a shattered orbital bone or degloved fingers, which is exactly the wording used in medical literature on torsion spring injuries.
The clearest way to think about it is as a boundary based on stored energy. Components that carry no meaningful tension when the door is closed are generally fair game for a careful homeowner with the right seal or part. Components that hold tension even when the door is fully closed-or that guide that tension-should stop you the moment you realize what you’re looking at. That boundary has nothing to do with your skill level and everything to do with whether a slipped wrench costs you a bandage or a surgery. In Arlington, where garages often double as workshops and storage for two-income households with kids, we’ve found that the homeowners who draw this line correctly are the ones who read the warning labels and take them literally.
Why Torsion Springs and Cables Are Not a DIY Project
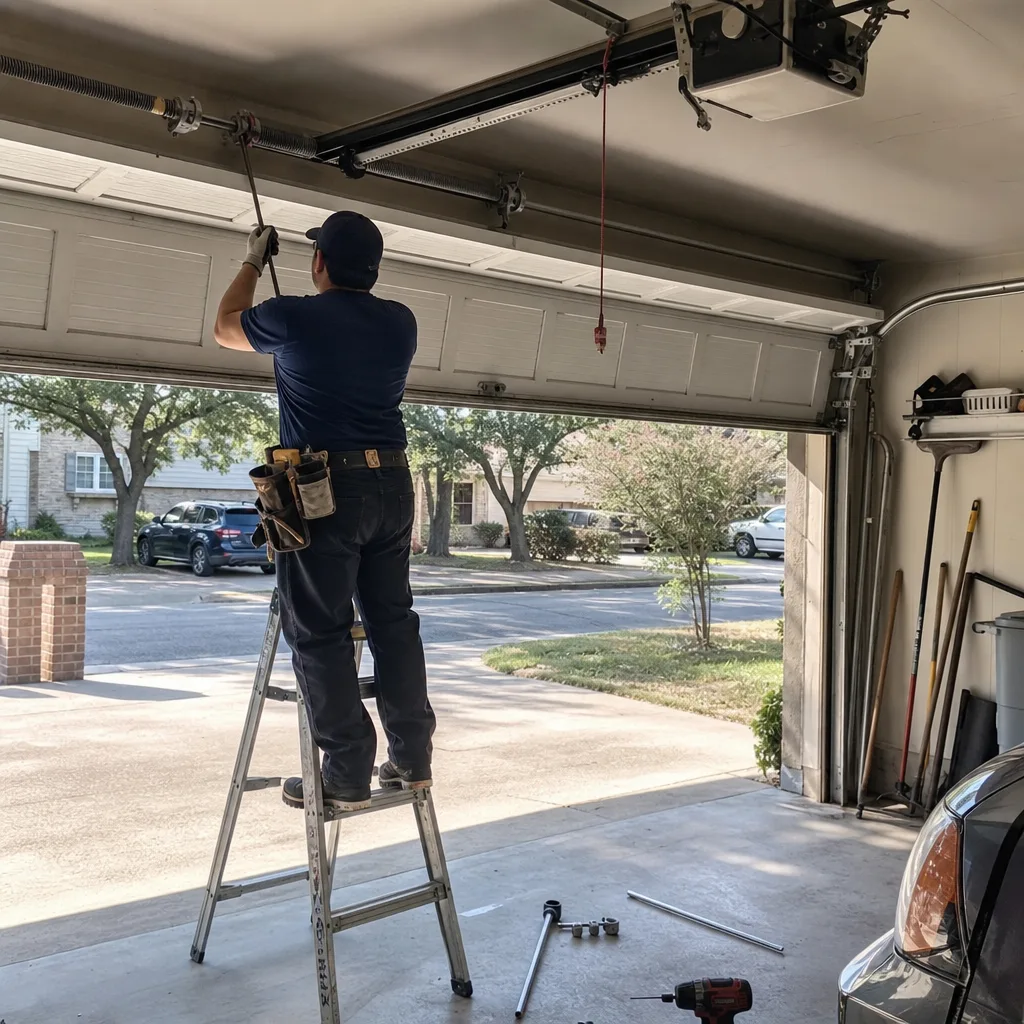
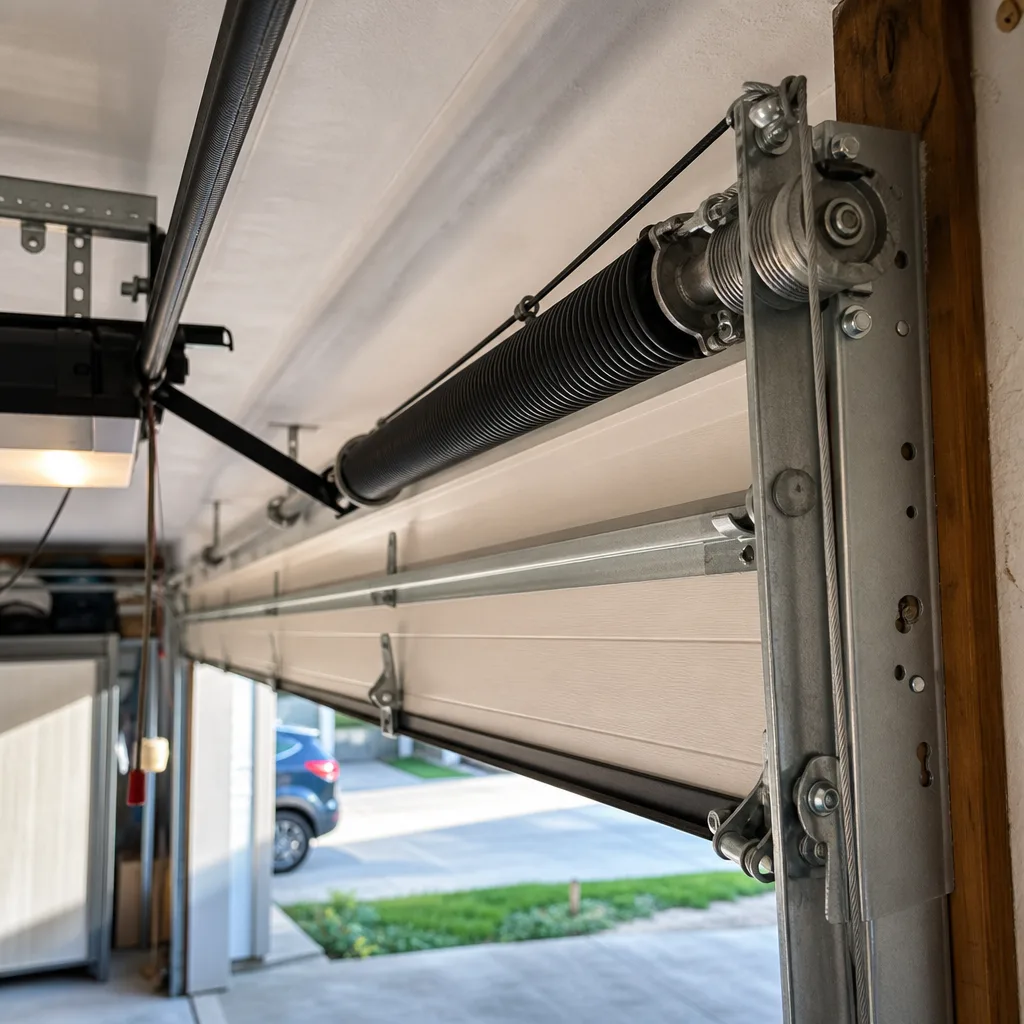
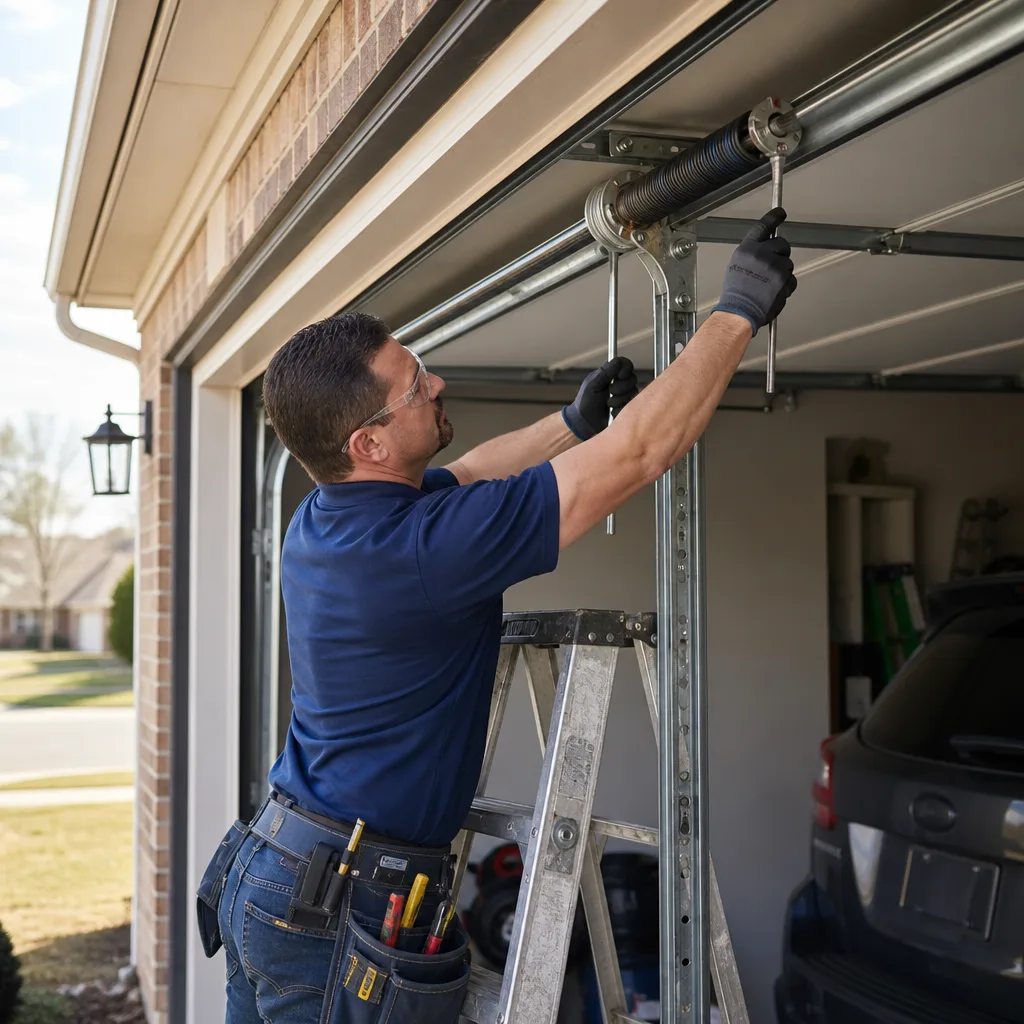
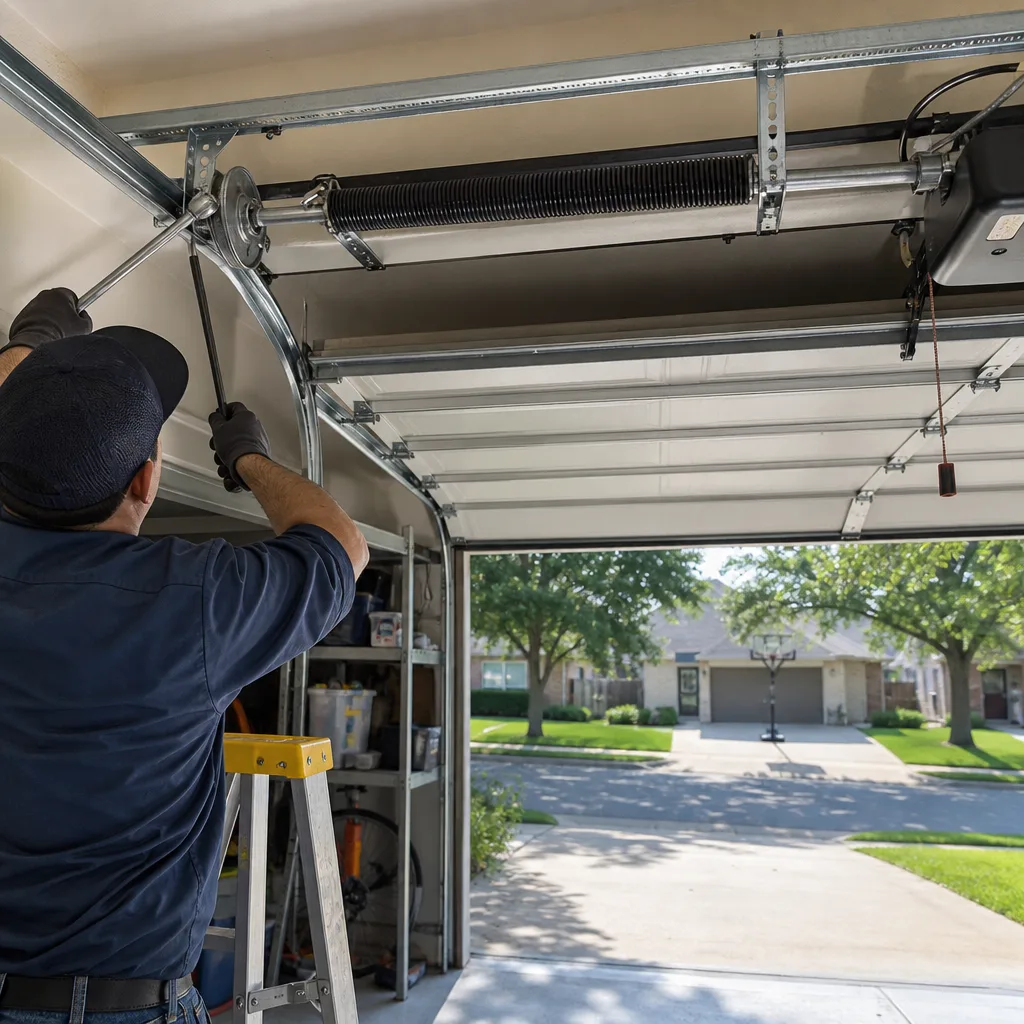
A torsion spring is a tightly-wound coil mounted on a metal shaft above the closed door. When you close the door, the spring winds tighter, storing the energy that will lift the door on the next cycle. It is under maximum tension when the door is down, which is exactly when you’d stand on a ladder to inspect it. Extension springs, found on the sides of older Arlington homes, store the same kind of energy by stretching. Both are designed to move a 150-to-250 pound door effortlessly, which means they’re holding back more than enough force to break bone.
The specific danger with torsion springs is the winding cone. Professionals use two solid steel winding bars of exact diameter, inserted one at a time, never letting go of one without the other fully seated. A homeowner using a screwdriver or an undersized bar, or standing off to the side instead of directly in front of the spring, creates a situation where one slip means that bar becomes a projectile. The medical literature on garage door spring injuries notes hand fractures, finger amputations, and facial trauma as common outcomes, and many of those patients describe the event as “instantaneous” and “unpreventable once the release started.” A cable under tension carries the same risk profile: when it frays and snaps, it moves fast and unpredictably. We don’t say this to scare you out of every project. We say it because the physics doesn’t care whether you’ve watched three YouTube tutorials.
The Reasonable DIY List: What Arlington Homeowners Can Actually Do
Plenty of garage door work genuinely belongs on the homeowner’s weekend list. These are components you can inspect, unbolt, replace, and test without ever touching a spring under tension. They fail gradually, they’re visible when they fail, and a mistake means you redo a step, not a surgery. Here’s the list that most Arlington homes can handle with a socket set, a ladder, and an afternoon.
- Bottom seal replacement: The U-shaped rubber strip along the bottom of the door. It slides or screws into a channel, and replacement takes about 30 minutes. In Arlington’s clay-heavy soil, this seal is what keeps out monsoon-season runoff and the occasional scorpion looking for cool.
- Weather stripping around the frame: The vinyl trim along the sides and top. It nails or screws in place, and it’s the first line of defense against the summer heat that otherwise leaks into a west-facing garage in July.
- Remote programming: Every major brand, including LiftMaster and Craftsman, has a learn button on the opener motor and a documented multi-step pairing process. If your remote works once and never again, this is often a two-minute fix, not a service call.
- Photo-eye sensor cleaning and alignment: The two small sensors near the floor on either side of the door opening. Wiping the lenses with a dry cloth and making sure the small indicator light is steady solves a surprising number of “door won’t close” complaints. Loose brackets can be tightened with a screwdriver.
- Track cleaning and lubrication: Wiping the vertical and horizontal tracks with a dry rag and applying a garage-door-specific lubricant to rollers, hinges, and the torsion spring (a light spray, never grease) is preventive maintenance within the average homeowner’s reach. Avoid lubricating the track itself, which can roll the wrong debris into the roller path.
- Opener force setting adjustment: The dials on the opener motor marked “up force” and “down force” control how hard the opener pushes. If the door reverses immediately on contact with the ground, a small adjustment may be all it needs, and the owner’s manual walks through it. This is a good candidate for DIY because it requires no hard-to-reach hardware.
What DIY Opener Installation Really Requires
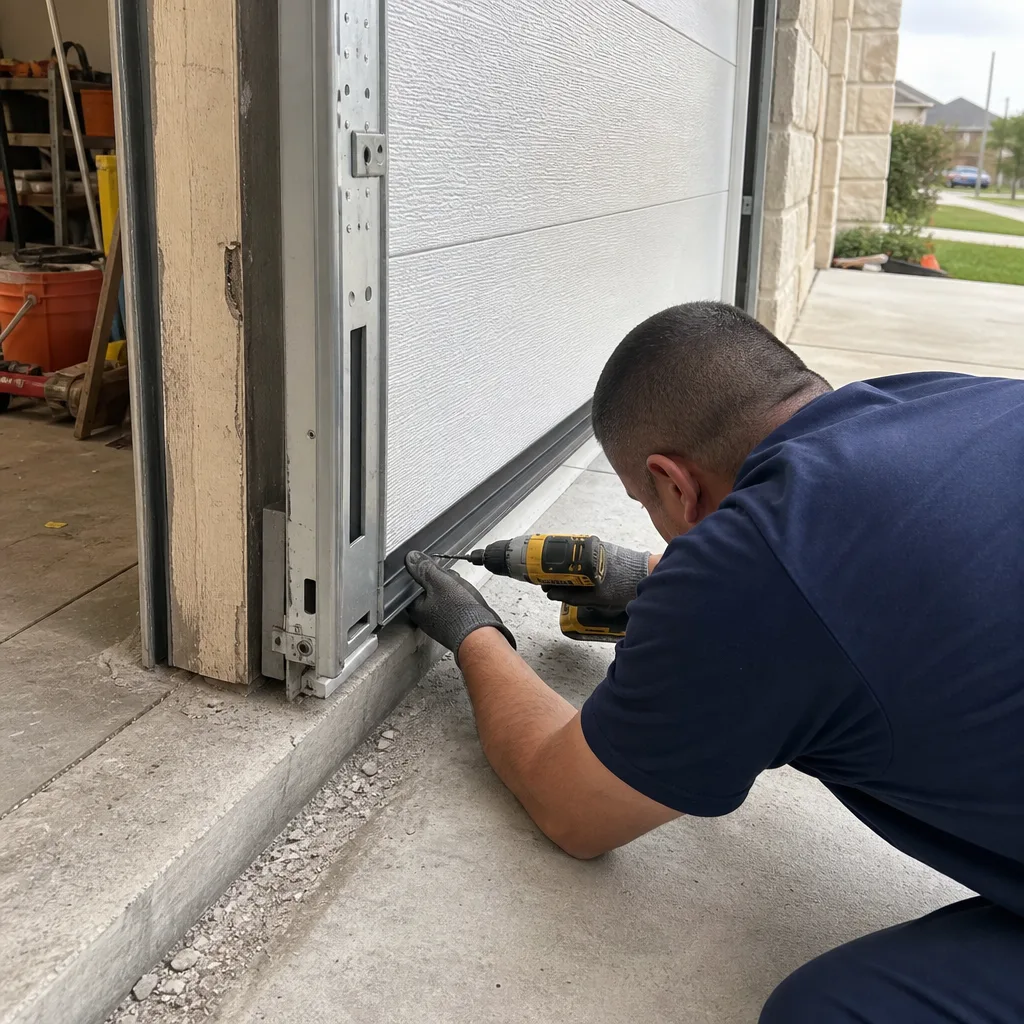
Installing a garage door opener is a different category from most other DIY decisions. It’s not dangerous in the way springs are, but it is exacting. The difference between an opener that works flawlessly for ten years and one that eats gears and reverses unpredictably comes down to a few measurements and tests that installers do so routinely they forget to name them to homeowners.
The process, in honest detail:
- Test the door balance first. Disconnect the door from the opener and manually lift it to waist height. A properly balanced door stays put. A door that drifts down or slams open has a spring issue, and adding a new opener on top of that failure will destroy the opener’s motor and gears within a year. This is the step that surprises most DIYers, because nobody printed it on the box.
- Mount the opener rail and motor in the correct position. The rail must be level against the ceiling and centered on the door, and the motor hangs from mounting brackets screwed into ceiling joists, not just drywall. A loose mount is the most common cause of an opener that sounds like a bag of rocks within six months.
- Attach the arm to the door bracket. The curved arm connects the traveler carriage to the door. If the angle is too steep or too shallow, the opener strains against the door’s natural travel path. This is a geometry adjustment, not a strength adjustment.
- Set the up and down travel limits. You’re telling the opener exactly where the door should stop in each direction. Setting the down limit too far pushes the door into the concrete, which grinds the rail and bends the bottom panel over time.
- Align and test the safety sensors. The photo eyes near the floor must face each other exactly, with steady indicator lights on both sides. The final test is placing a 2×4 or a rolled-up jacket in the door’s path and pressing close. The door must reverse on contact. If it doesn’t, the opener is unsafe to operate with children or pets in the house. This is the test installers know by heart and homeowners sometimes skip because the door “seems fine.”
- Set the force controls. Too much force means the door crushes whatever’s underneath it. Too little means it reverses every time it hits a stiff hinge. The right setting is the lowest force that still lifts the door smoothly, tested with the same obstacle method.
If all of that sounds doable, it is, with two people, a drill, a ladder, and a free afternoon. If any step sounds like a judgment call you’d be guessing at, that guess is where the real cost lives. Our team at Garage Door Opener Repair & Installation in Arlington does this work every week, and the correct installation takes a trained technician about two to three hours, including the alignment and safety tests.
The True Cost of a DIY Torsion Spring Attempt Gone Wrong
Let’s put numbers on the argument, because the math is less abstract than the fear. A professional torsion spring replacement in Arlington, done with the correct spring matched to the door’s weight and cycle rating, generally runs between $180 and $340 for a standard one-spring or two-spring replacement, with the spring itself carrying a 10,000-cycle rating on quality work. The job takes a technician 45 to 90 minutes. By contrast, a DIY attempt that goes wrong carries a cost profile that looks like this:
- Emergency room visit: Even a minor mishap with a winding bar, one that doesn’t require surgery, lands in a $1,200 to $3,500 range with insurance deductibles in Arlington’s typical PPO plans. A hand fracture requiring an orthopedic consult adds thousands more.
- Door damage: When a spring releases uncontrolled, the door often slams down or torques sideways, bending panels, snapping hinges, or pulling tracks off their mounts. Replacing a single damaged panel runs $250 to $500; a full door replacement starts around $1,200 and climbs to $3,000 or more for a two-car insulated door.
- The follow-up professional repair: After the failed DIY attempt, a technician still has to do the original spring job, but now the door may need realignment, bracket replacement, and cable re-stringing. The professional fix after a failed DIY attempt commonly lands in the $500 to $900 range, which is what the original professional job would have cost plus remediation.
- Time: A DIY attempt that goes wrong eats a full day, often a weekend, and then a weekday for the emergency service call that follows.
The honest summary: the cheapest outcome for a torsion spring job is to have it done correctly the first time. In our experience across Arlington, the homeowners who attempt the spring and call us after the fact universally tell us the same thing: they didn’t realize how much force they were working against until it was already moving. If you’re weighing the choice right now, Garage Door Repair in Arlington gets a named technician to you fast, and the price is on paper before any tool touches your door.
Using Professional Documentation to DIY Future Maintenance
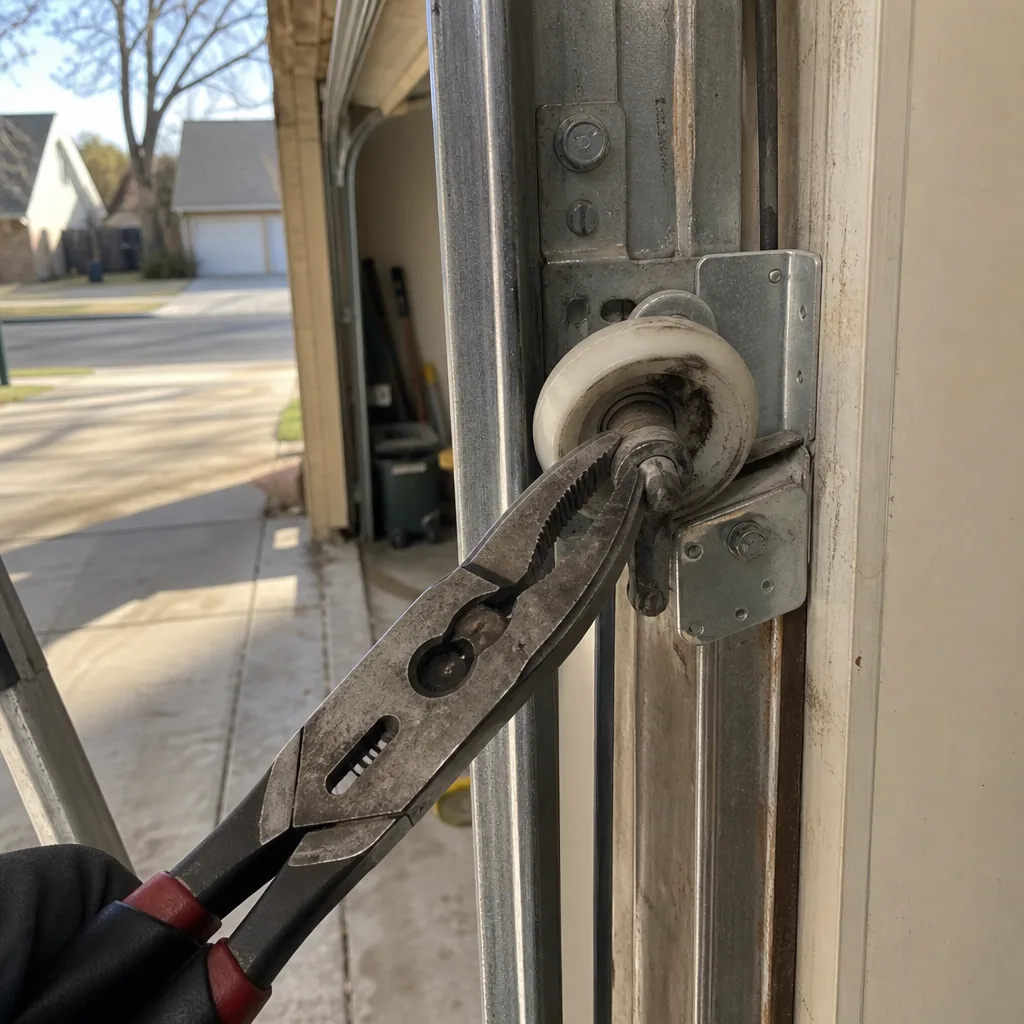
There’s a way to stay involved in your garage door’s care without ever touching a dangerous component: demand documentation from whoever does the professional work, then use that paper trail to safely handle the maintenance items that belong to you. This is where the difference between a good company and a vague one becomes obvious. A good technician can tell you the spring’s wire diameter, the brand and model of opener, the cycle rating of the parts they installed, and exactly what they adjusted and why. A vague one can’t.
Here’s what useful documentation looks like, and how it becomes your future DIY map:
- Photo evidence of the failed part. You should receive a photo of the broken spring, the frayed cable, or the failed logic board before any replacement is quoted. This is our founding rule at Servo Garage Doors Arlington home, and it’s codified as Clause 4 of The Haven Standard: the technician photographs the failed component before quoting a replacement. When you have a photo of a torsion spring snapped clean at the coil, you know what you paid for and you know what a healthy spring looks like for future comparison.
- The written scope and price. Clause 1 of The Haven Standard requires a flat, written price and a written scope delivered before any work starts. That document names the part, the work, and the total. When you have it, you know exactly what was done, which means you can predict when it will need doing again.
- The part’s cycle rating. Springs and openers are rated in cycles, not years. A 10,000-cycle spring on a door used four times a day lasts about seven years in Arlington, less if your garage is also your workshop entrance. When the technician labels the spring with its cycle rating, you can set your own calendar, which is DIY maintenance of the most useful kind: maintenance you plan rather than react to.
- A record of what was adjusted. If the technician balanced the door, set the force limits, and aligned the sensors, that’s a written baseline. Six months later, when the door drifts slightly, you can compare what changed against a documented starting point instead of guessing.
When documentation works this way, the professional visit becomes an education. The next time you replace a bottom seal or reprogram a remote, you’re doing it with a full understanding of the system you’re maintaining, not a vague sense that a garage door is just a big metal thing on tracks. For Garage Door Installation in Arlington, this documentation should be standard practice, not an upsell.
Arlington Heat and UV: Why Manufacturer Timelines Don’t Match Local Reality
Garage door manufacturer maintenance schedules are written for a national average that doesn’t include a Texas summer. Arlington’s climate accelerates degradation on the plastic and electronic components of a garage door system, and that changes the DIY maintenance calendar in ways the manual doesn’t address. A homeowner who follows the book will replace things late. A homeowner who knows the local pattern will replace them on time.
Three specific areas where Arlington’s heat rewrites the schedule:
- Opener light kits and their plastic housings: The plastic on opener light covers and the small circuit boards inside them embrittle under sustained heat, especially in west-facing garages that bake from 3 p.m. to sunset. A light kit that would last a decade in Ohio can craze, yellow, or fail in four to five Arlington summers. If your opener’s light flickers or won’t stay on, the issue is often the heat-brittled housing, not the bulb.
- Remote housings and internal contacts: Kept in a car center console or clipped to a sun visor, remotes sit in a parked car that reaches 130 degrees Fahrenheit or more in an Arlington August. The plastic shell warps slightly, and the internal solder contacts for the button pads fatigue faster. If your remote requires progressively harder presses, the heat response is part of the problem, and a replacement remote is a ten-minute DIY job that doesn’t require touching anything dangerous.
- Opener logic boards: The motor unit on the garage ceiling sits in the hottest air in the house’s envelope during summer. Logic boards are rated for a wide temperature range, but sustained heat cycling shrinks their service life. If the opener stops responding to remotes and wall buttons but the motor still has power, the logic board is often the failure, and Arlington homeowners see this failure earlier than the national norm.
The practical takeaway is a shorter inspection interval than the manual suggests. Check the plastic components twice a year in Arlington, once in late spring before the heat crests and once in early fall as temperatures drop. When you catch a heat-brittled housing early, replacing it is trivial. When you don’t, a cracked housing admits dust and humidity that cascades into electronics failure. The brands most common in Arlington garages, including LiftMaster, Chamberlain, and Craftsman, all sell replacement light covers and remote housings directly, and the swap takes minutes with no special tools.
What Professional Repair Actually Costs in Arlington
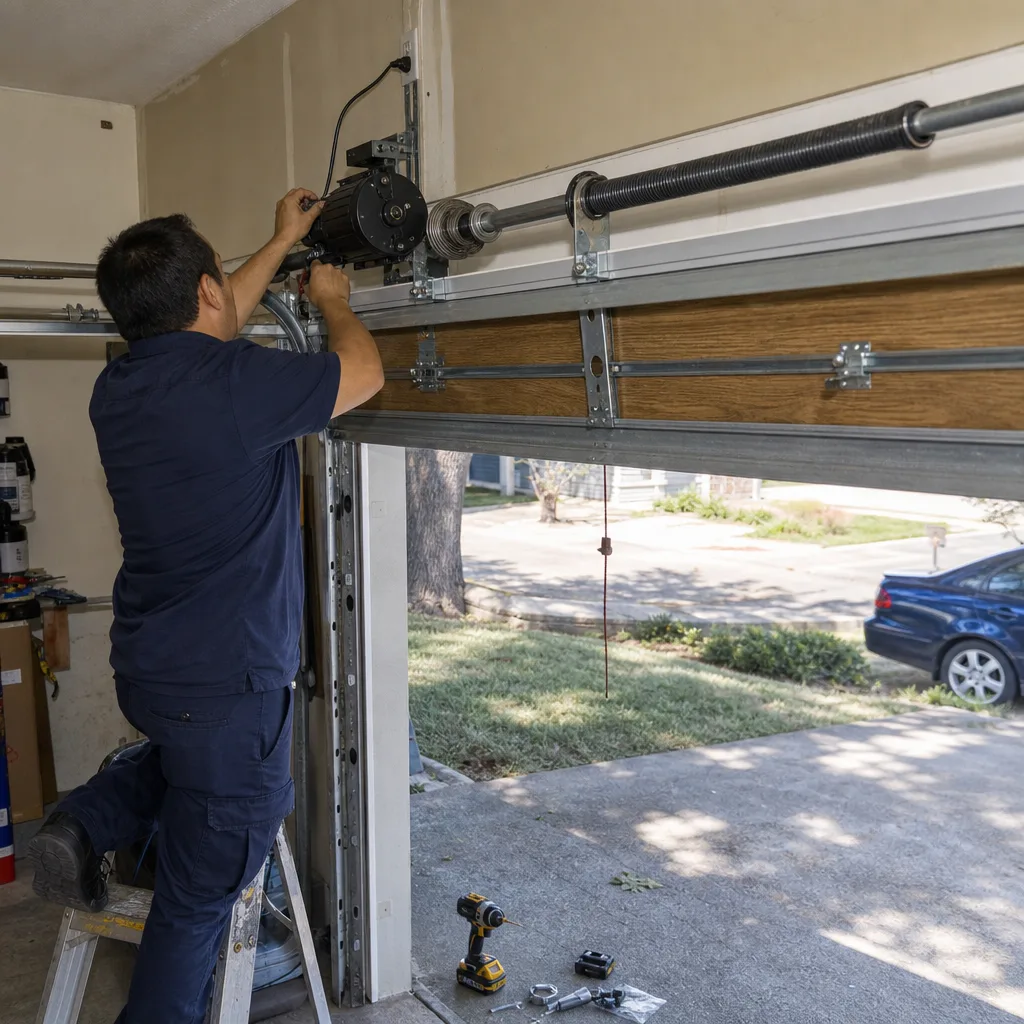
The most useful thing this guide can give you is the actual dollar range for professional work in Arlington, so you can compare it honestly against the cost of your time and potential risk. These are the ranges we see on our own written quotes, not national averages from a pricing website. Every one of them is a flat, written price delivered before any work begins, per Clause 1 of The Haven Standard, so the number you approve is the number you pay. No discovery-based pricing, no on-the-spot upsells.
| Service | Arlington Price Range | Time on Site |
|---|---|---|
| Torsion spring replacement (standard two-car door) | $180 - $340 | 45 - 90 minutes |
| Extension spring replacement (older side-mount systems) | $150 - $260 | 45 - 60 minutes |
| Bottom seal replacement | $90 - $160 | 30 - 45 minutes |
| Weather stripping replacement (full perimeter) | $140 - $240 | 1 - 2 hours |
| Opener installation (owner-supplied unit) | $250 - $450 | 2 - 3 hours |
| Opener installation with new rail and safety sensors included | $450 - $750 | 2 - 4 hours |
| Safety sensor replacement and alignment | $90 - $150 | 30 - 60 minutes |
| Cable replacement (both sides) | $150 - $250 | 1 - 2 hours |
| Logic board replacement | $180 - $350 | 1 - 2 hours |
These numbers are specifically Arlington market rates, not Dallas or Fort Worth numbers from a generic web search. They assume a standard residential door in a detached home. If you have a custom carriage door, a high-cycle commercial spring, or a door that needs realignment in addition to the listed repair, the price range adjusts upward, but the written quote reflects that before you commit. Nothing about the price should be a surprise, which is the entire point of the written-price system that’s been our practice since 2015.
Common Mistakes to Avoid
- Attempting a torsion spring release with improvised winding bars. Screwdrivers, rebar, and the wrong-diameter bars slip out of the winding cone under load, and when the bar goes, so does the control. This is the single most common mechanism of garage door spring injury. If you don’t own exact-size winding bars and a second set to hold position, stop.
- Disconnecting the door from the opener without securing it. When you’re working on an opener and you pull the emergency release, the door can slam shut if the spring is unbalanced. Before pulling that release, open the door and prop it with locking pliers on the track so it can’t move. Failure to do this is how a simple opener swap turns into a bent panel.
- Replacing a single spring instead of the pair. Torsion springs wear in tandem. Replacing one saves money in the moment but leaves you with a mismatched pair, which means uneven door travel, premature failure of the new spring, and a second service call sooner than necessary. Professionals replace both, and so should you when the professional is doing it.
- Testing the safety sensor once and calling it good. The photo-eye test is only meaningful when you test it under real conditions: place an obstacle in the path, close the door, and confirm it reverses. A homeowner who installs an opener and skips this test has installed a door that may not stop for a child or pet. It takes sixty seconds and it’s the most consequential test in the whole job.
- Ignoring Arlington’s heat in the maintenance plan. The manufacturer’s manual doesn’t know your garage faces west on a street with no shade. Checking plastic and electronic components twice a year catches the failures Texas heat accelerates before they cascade.
- Hiring a company that prices by “seeing the job first.” Quotes that can’t be written until the technician arrives are quotes that will change when they do. A company that prices on paper before work starts, with a written scope attached, is the only kind whose number has any meaning. This is Clause 1 of The Haven Standard, and it exists specifically because homeowners deserve to know the price before the van parks in the driveway.
When to Call a Professional
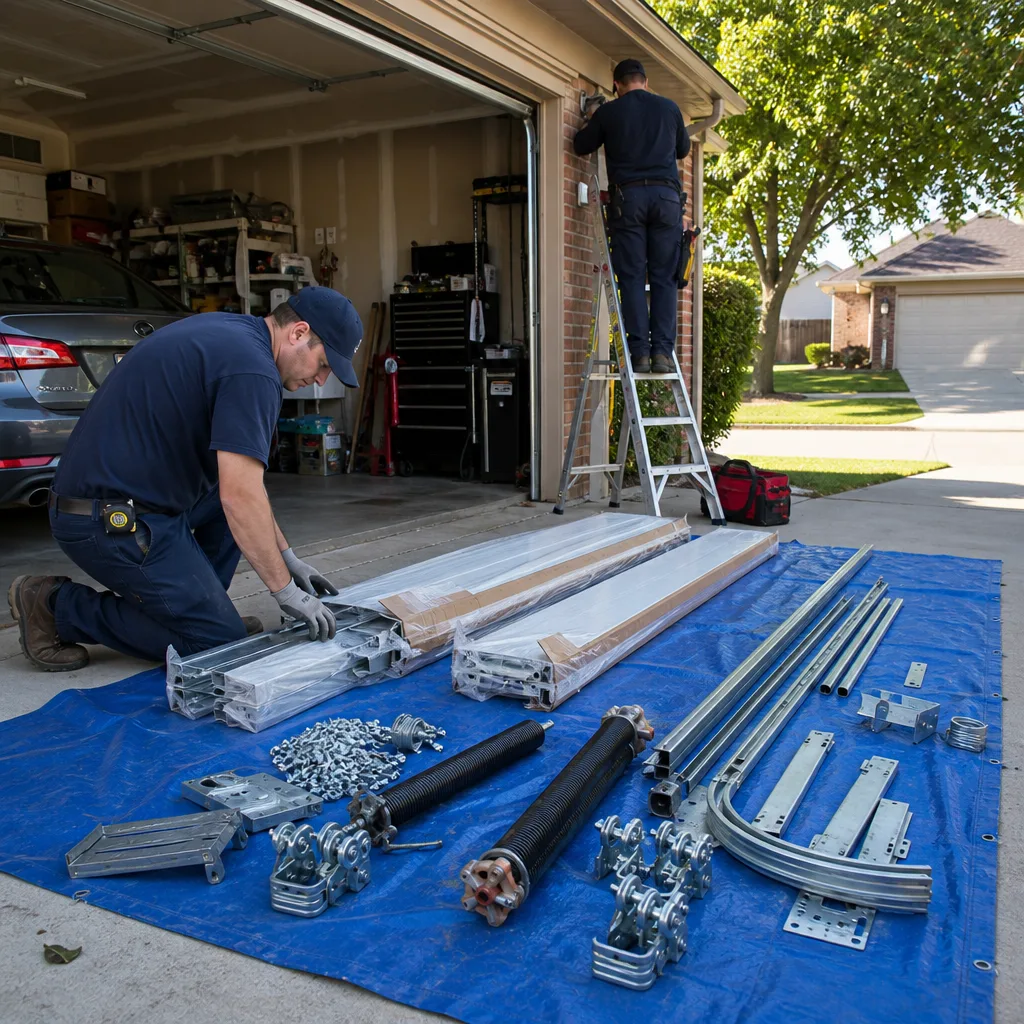
The situations that warrant a professional call are, in our experience, remarkably consistent across Arlington. You should call when any of these apply: the spring is broken or the door is hanging unevenly in its tracks; a cable has frayed or snapped; the opener’s circuit board is dead or intermittently failing; the door is off-balance when you lift it manually; or you’ve attempted a DIY fix and the door now behaves worse than before. These are not failures of effort. They’re the natural boundary of what a homeowner should be expected to handle without training, tools, and two people. Servo Garage Doors Arlington offers free estimates in Arlington, and the price is written and agreed before work starts. Call (682) 452-1782 and a live person answers, day or night.
Frequently Asked Questions
You can, but you shouldn’t. Torsion springs hold enough stored energy while the door is closed to cause severe hand, arm, and facial injuries if the winding bar slips, and extension springs carry the same tension through a stretch-and-release mechanism that’s equally dangerous when it fails. The professional replacement cost in Arlington is $180 to $340, and the job includes a written price and a photo record of the failed spring before any quote is issued. That’s significantly less than the cost of treating a hand injury or repairing door damage from an uncontrolled release.
Most Arlington garage door repairs fall between $90 and $350, depending on the component. Bottom seal replacement runs $90 to $160, cable replacement $150 to $250, torsion spring replacement $180 to $340, and opener logic board replacement $180 to $350. Every Servo Garage Doors Arlington quote is flat, written, and delivered before any work starts, so the exact number is always known before you approve it.
Installing an opener is safe when done with two people, the right tools, and specific attention to the safety sensor alignment and force settings. The danger in DIY opener work isn’t physical injury from springs, it’s installing a door that doesn’t reverse when it should. The sensor test is non-negotiable: place an obstacle in the door’s path and confirm it reverses on contact. If you’re not confident in that final test, the professional installation price in Arlington is $250 to $750 depending on the unit.
Bottom seal, weather stripping, remote controls, safety sensor lenses, and lubrication of the rollers and hinges are all safe DIY items. These components don’t carry tension when the door is closed, they fail visibly and gradually, and a mistake means redoing a step rather than a hospital visit. Our more guides & resources section details each item and the tools each requires.
Arlington’s summer heat and UV exposure embrittle the plastic housings and accelerate fatigue on the electronic components of openers faster than manufacturer timelines account for. West-facing garages see the worst of it, with light kit housings and remote casings failing years earlier than national averages. Checking these components twice a year catches failures before they cascade, and the replacement parts are inexpensive and easy to install.
Look for a company that writes the price before it starts, shows you the failed part before it quotes a replacement, and leaves a documented record of what it found and what it did. Those three behaviors are the difference between a contractor who wants your trust and one who earns it with a paper trail. Servo Garage Doors Arlington has operated that way since 2015, with the documentation codified as The Haven Standard and every job closing with a photo record delivered to the customer.
The Bottom Line
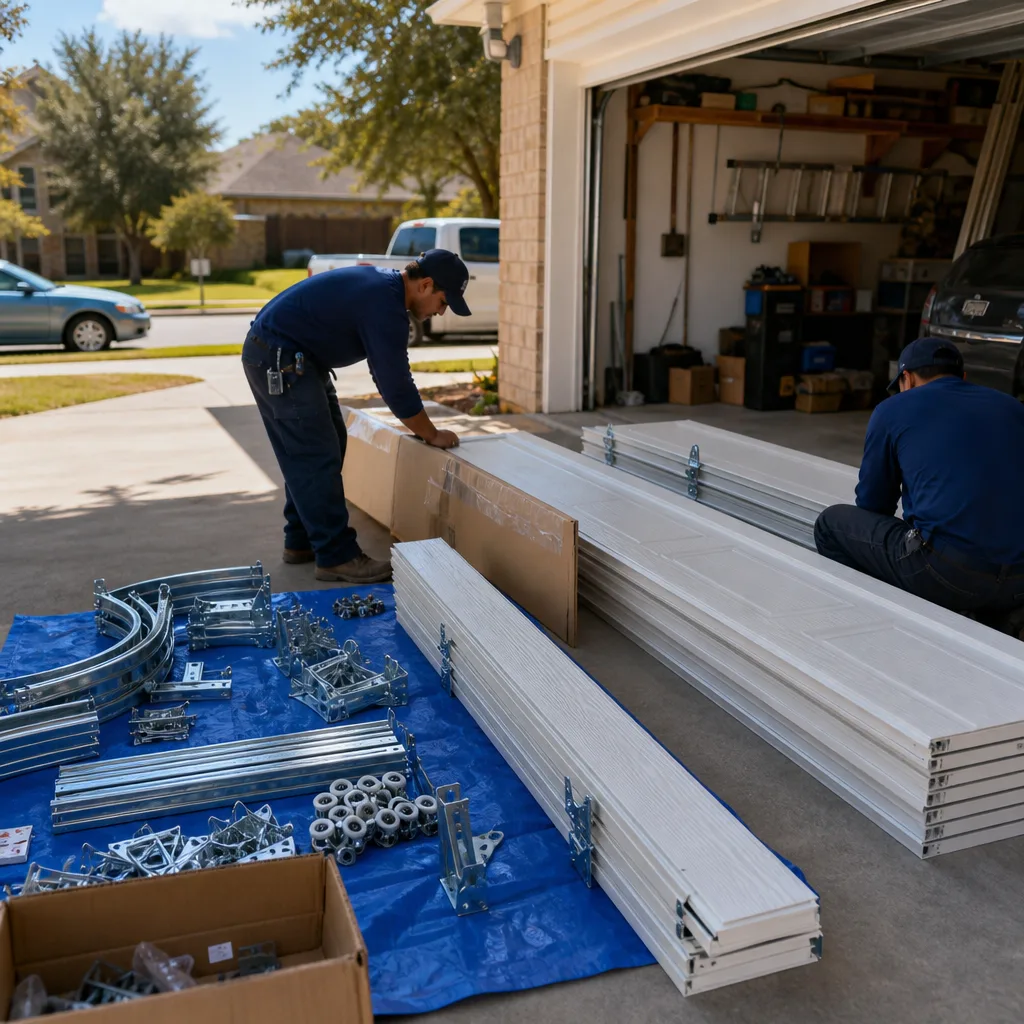
The DIY line for garage door work is drawn at tension. Bottom seals, weather stripping, remotes, and sensor lenses are yours to handle, and Arlington’s heat means you’ll handle them more often than the manual predicts. Torsion springs, extension springs, and cables are not, not because you couldn’t learn the steps, but because the failure mode is medical rather than cosmetic. The smart Arlington homeowner doesn’t measure capability against the hardest part of the job. They measure it against the worst thing a mistake costs. When the cost crosses from redoing a step to a hospital visit, the decision is already made. Servo Garage Doors Arlington offers free estimates and written pricing in Arlington: call (682) 452-1782.
Written by Marcus Deller, Owner at Servo Garage Doors Arlington, serving Arlington since 2015.