
Last updated September 20, 2026
Full 25-point door and opener safety check with every visit - springs, cables, rollers, tracks, and your LiftMaster or Chamberlain opener included
You get a price before we start. It does not change when the truck arrives.
 Before
 After
After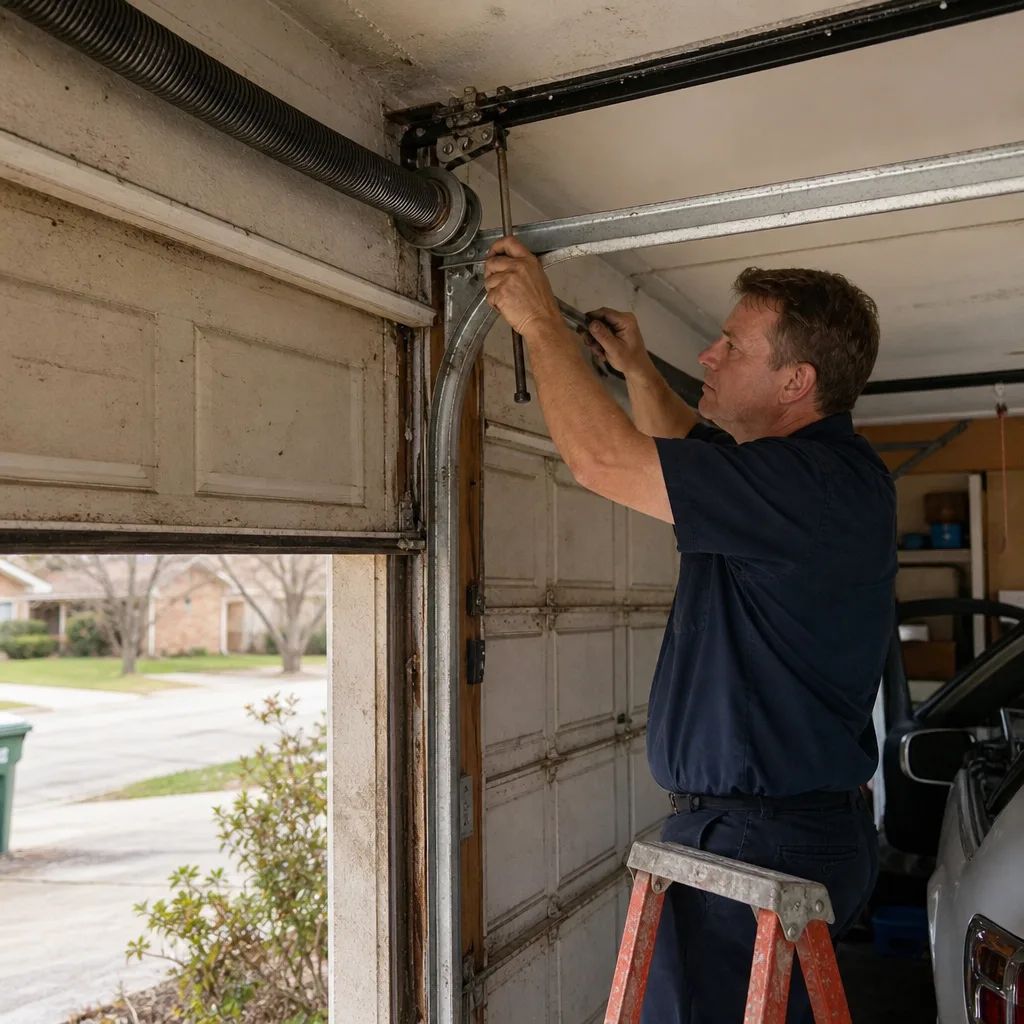 Before
 After
After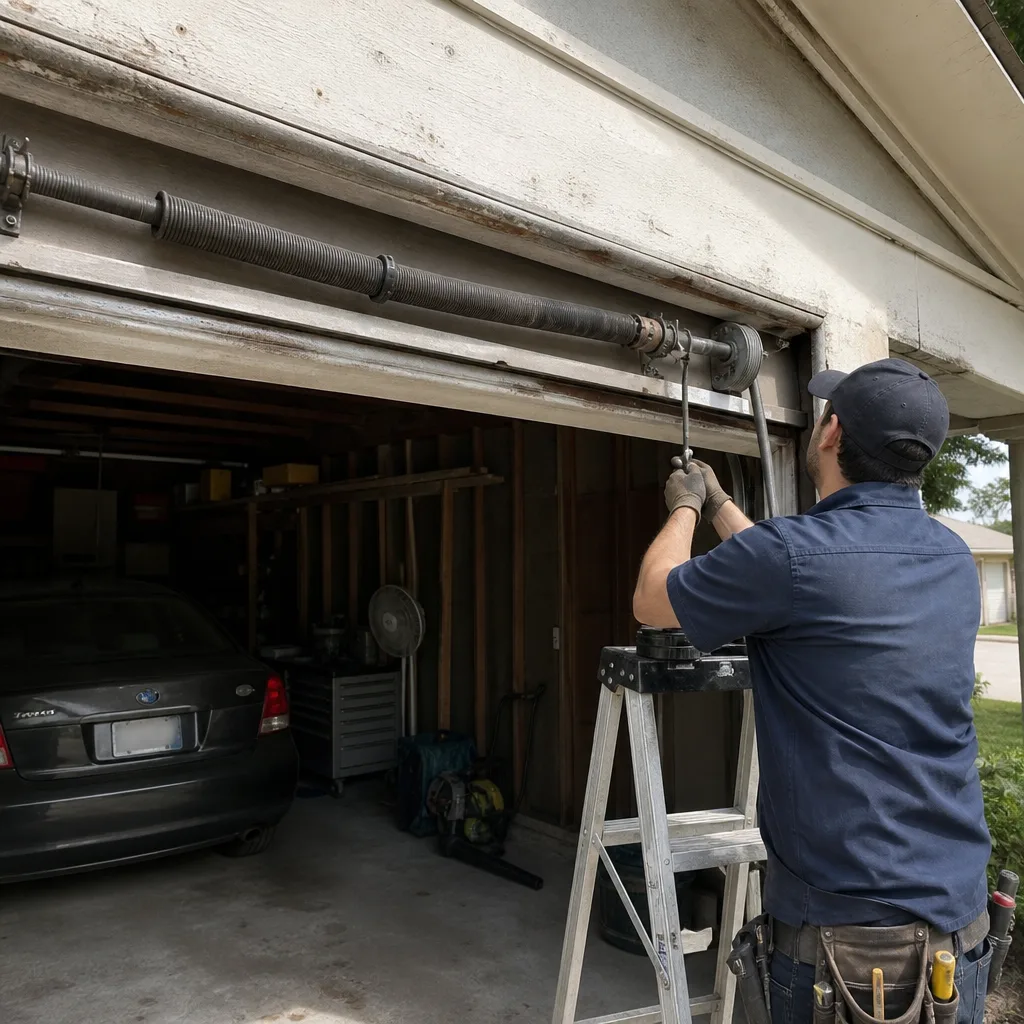 Before
 After
AfterGarage Door Repair Maintenance Checklist for Arlington Homeowners
Here’s a number that surprises most Arlington homeowners: a standard 16-by-7 steel garage door cycles open and closed roughly 1,500 times a year, and every single cycle puts stress on the torsion spring, the hinges, the rollers, and the opener’s logic board. In Arlington, where July and August temperatures routinely pass 100°F, that stress compounds faster than in cooler climates. Most garage door breakdowns we see are not sudden failures. They’re the result of six to twelve months of ignored wear that a 20-minute checklist would have caught. This guide walks you through the maintenance items that actually matter, what each one prevents, and what skipping it will eventually cost you in Garage Door Repair dollars.
Quick Answer
A garage door maintenance checklist for Arlington homeowners should cover six areas: spring inspection, track alignment, roller and hinge condition, opener force and auto-reverse testing, weather seal replacement, and lubrication with component-specific products. Done twice a year and documented with dated photos, this routine catches most failures before they become emergency repairs. The highest-impact 20 minutes you can spend is testing the auto-reverse and force limit, because that’s the difference between a door that stops and a door that injures someone.
Table of Contents
- Why Arlington Heat Changes Your Maintenance Schedule
- Lubrication: What Goes Where and Why It’s Different
- The Two Safety Tests You Should Run Every Month
- The Visual Inspection: What to Look For and What It Means
- How to Document Your Inspections So They Actually Help Later
- What’s Safe to DIY and What Requires a Technician
- The Arlington Seasonal Maintenance Schedule
- Common Mistakes to Avoid
- When to Call a Professional
- Frequently Asked Questions
BeforeAfterWhy Arlington Heat Changes Your Maintenance Schedule
A twice-yearly maintenance schedule works in most climates. In Arlington, it’s a floor, not a ceiling. The reason is thermal cycling: when your garage door’s steel components heat to 110°F or more inside an uninsulated garage during a Texas summer afternoon and then cool to 75°F overnight, the metal expands and contracts at different rates depending on thickness. The torsion spring, which is under constant tension, absorbs most of that stress. Over a single Arlington summer, a spring can lose measurable tension even if it never breaks. That’s a reality most national checklists ignore because they’re written for climates with narrower temperature swings.
What this means practically: we recommend adding a third inspection in late September, after the worst heat has passed, to check for metal fatigue that a spring-only schedule would miss. Homeowners in neighborhoods like Dalworthington Gardens, Pantego, and the older sections of North Arlington near the UTA campus deal with this more than subdivision homes with insulated garages, but the pattern holds across Tarrant County. The door doesn’t care what the thermostat inside the house says. It feels the garage temperature, and that’s where the fatigue happens.
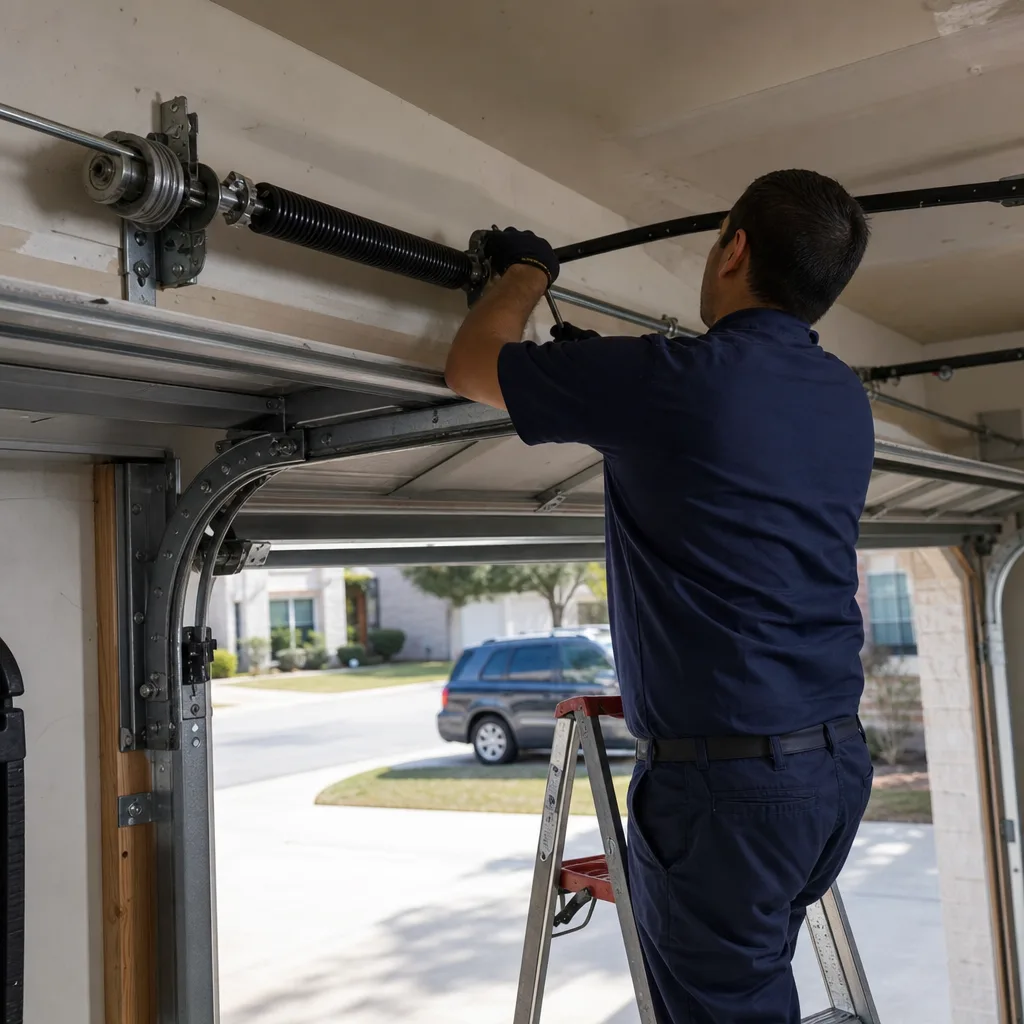
The component most sensitive to Arlington heat is the torsion spring. A spring that breaks in August almost always showed micro-fractures along the coil surface in June. Those fractures are visible if you know what you’re looking for: a fine, rust-colored line running perpendicular to the coil, usually near the center or at the winding cone. You don’t need a magnifying glass. You need a flashlight and ten seconds of attention.
Lubrication: What Goes Where and Why It’s Different
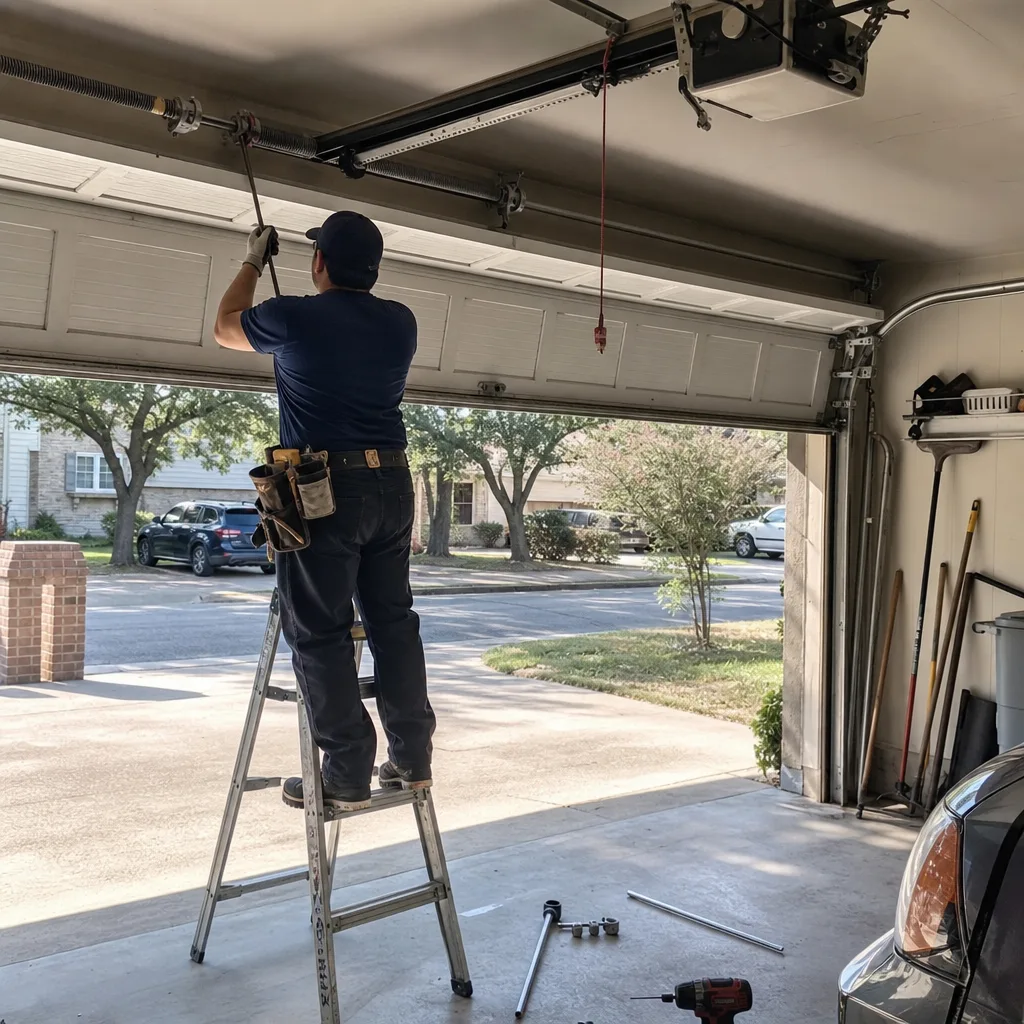
Lubrication is the one task every maintenance checklist includes and almost no one does correctly. The most common error is substituting one lubricant for all components. The second most common is using the wrong product on the torsion spring. Here’s the breakdown: hinges need a white lithium grease because it stays where you put it under load. Rollers with ball bearings need a light machine oil that penetrates the bearing housing. The torsion spring needs a spray lubricant designed specifically for springs, typically a dry-film or graphite-based product. And the tracks need nothing at all.
That last point surprises people. The tracks are guides, not bearing surfaces. Lubricating them attracts dust and grit from the Arlington air, which creates a paste that accelerates roller wear. The rollers glide inside the track; the track itself should stay dry and clean. If a roller is sticking, the problem is the roller, not the track.
The wrong lubricant on a torsion spring accelerates corrosion. WD-40, for example, is a water displacer and degreaser, not a spring lubricant. Spraying it on a torsion spring displaces the protective film that was applied at the factory and leaves the raw steel exposed. In a humid Arlington spring, that means surface rust within weeks. A rusted spring is a weakened spring, and a weakened spring breaks. Worse, some spring manufacturers state in their warranty documentation that corrosion voids coverage. Using the wrong product can cost you the full replacement price, not just the part cost. We photograph corrosion on failed springs regularly during garage door repair in Arlington, and the pattern is usually a spring that was over-lubricated with the wrong spray.
Here’s a practical lubrication sequence:
- Wipe each torsion spring down with a clean, dry rag to remove old lubricant and dust.
- Apply a spring-specific spray lubricant in a thin, even coat across the full length of the coil, including the first two coils near each winding cone.
- Apply white lithium grease to the pivot point of each hinge, one small dab per hinge joint.
- Apply two or three drops of light machine oil to each roller bearing, working the door up and down once after application.
- Leave the tracks dry. Clean them with a rag if they’re visibly dirty.
The entire process takes twenty minutes. Done correctly twice a year, it extends spring and roller life measurably. Done incorrectly, it shortens it.
The Two Safety Tests You Should Run Every Month
Since 1993, federal law has required every automatic garage door opener sold in the United States to include two safety mechanisms: an auto-reverse system and a photoelectric sensor system. The auto-reverse system causes the door to stop and reverse if it encounters resistance while closing. The photoelectric sensors project an invisible beam across the door opening and reverse the door if anything breaks that beam. Both can be tested in under two minutes. Both should be tested monthly, not twice a year. Here’s an unfortunate pattern we’ve noticed in Arlington: most homeowners test the photo sensors because it’s easy, and almost none test the auto-reverse because it requires touching the door. That’s unfortunate, because the auto-reverse test catches mechanical failures that the photo eye test cannot.
The Force-Limit Test
The force limit is the amount of resistance the opener will push through before reversing. It’s adjustable on most openers from LiftMaster, Chamberlain, Genie, and other brands, and it drifts over time. A force limit set too high means the door will keep pushing against an obstacle, such as a child’s bicycle or a child, instead of reversing. In Arlington, this test matters especially in summer, when heat softens rubber seals and changes how the door meets the ground.
- With the door fully open, press the wall button or use the remote to close the door.
- Place a 2×4 piece of wood flat on the ground directly beneath the closing door’s path.
- Watch what the door does when it contacts the wood. It should reverse direction within two seconds of contact.
- If the door stops but does not reverse, or if it reverses sluggishly, the force limit is set too high or the opener’s sensitivity circuit is failing.
Pass criteria: reversal occurs within two seconds of contact. Fail criteria: the door hesitates, pushes the wood, or does not reverse at all.
The Photo Eye Test
- With the door open, press the wall button to close it.
- Wave your foot through the beam between the two photo eye sensors, usually mounted six inches above the floor on each side of the opening.
- The door should reverse immediately, before it has traveled more than a few inches.
Pass criteria: immediate reversal. Fail criteria: the door continues closing after the beam is broken. If the door fails either test, stop using the opener as a safety device until it’s serviced. The door can still be operated manually using the emergency release cord, but the opener’s safety systems should be repaired before anyone uses the automatic function. This is a repair we consider urgent, not optional. A force-limit failure is the most common cause of serious garage door injuries, and both tests together take less time than reading this section. If either test fails, we recommend calling a technician the same day. For Arlington homeowners, garage door opener repair in Arlington is typically a same-day service because the safety implications are immediate.
The Visual Inspection: What to Look For and What It Means
A visual inspection requires no tools and about fifteen minutes. The purpose is not to diagnose every problem, but to establish a baseline and catch changes. Here’s what you’re looking at, and what each finding means.
The Torsion Spring
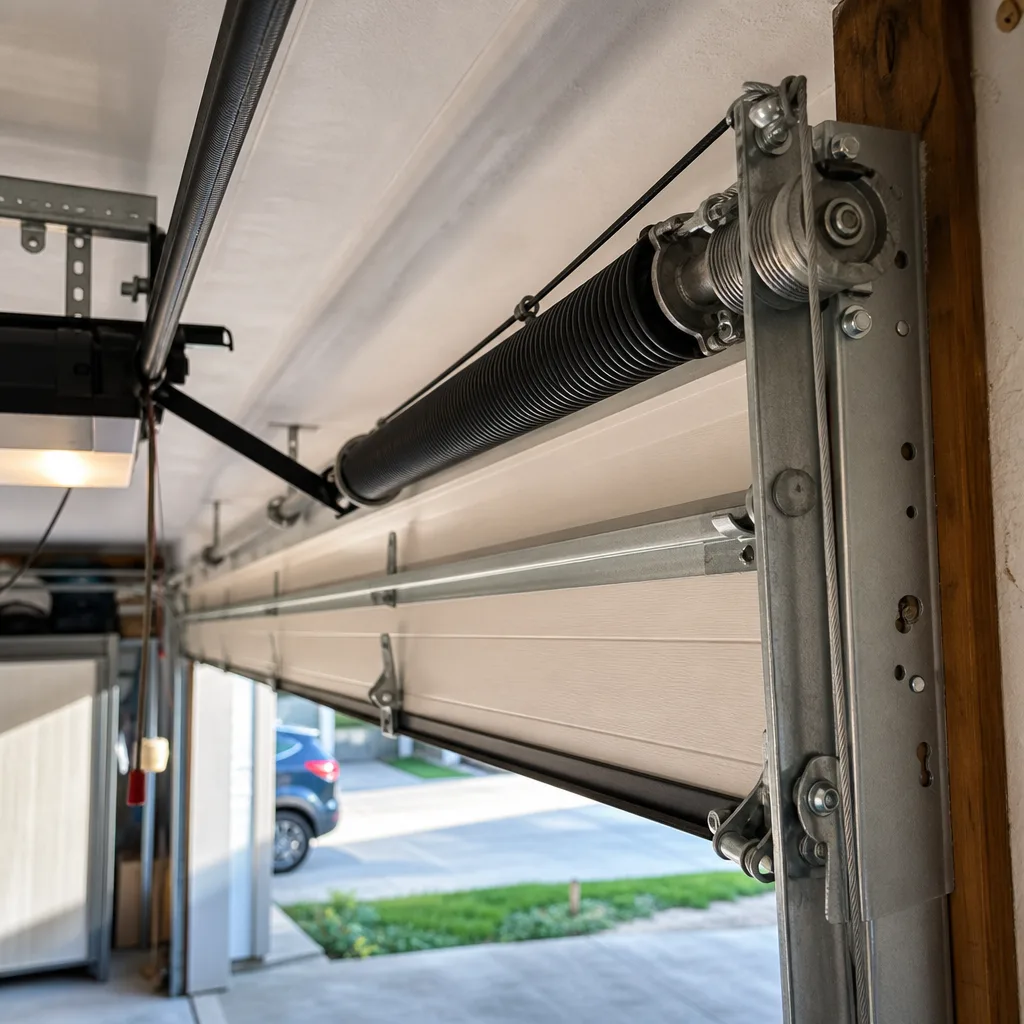
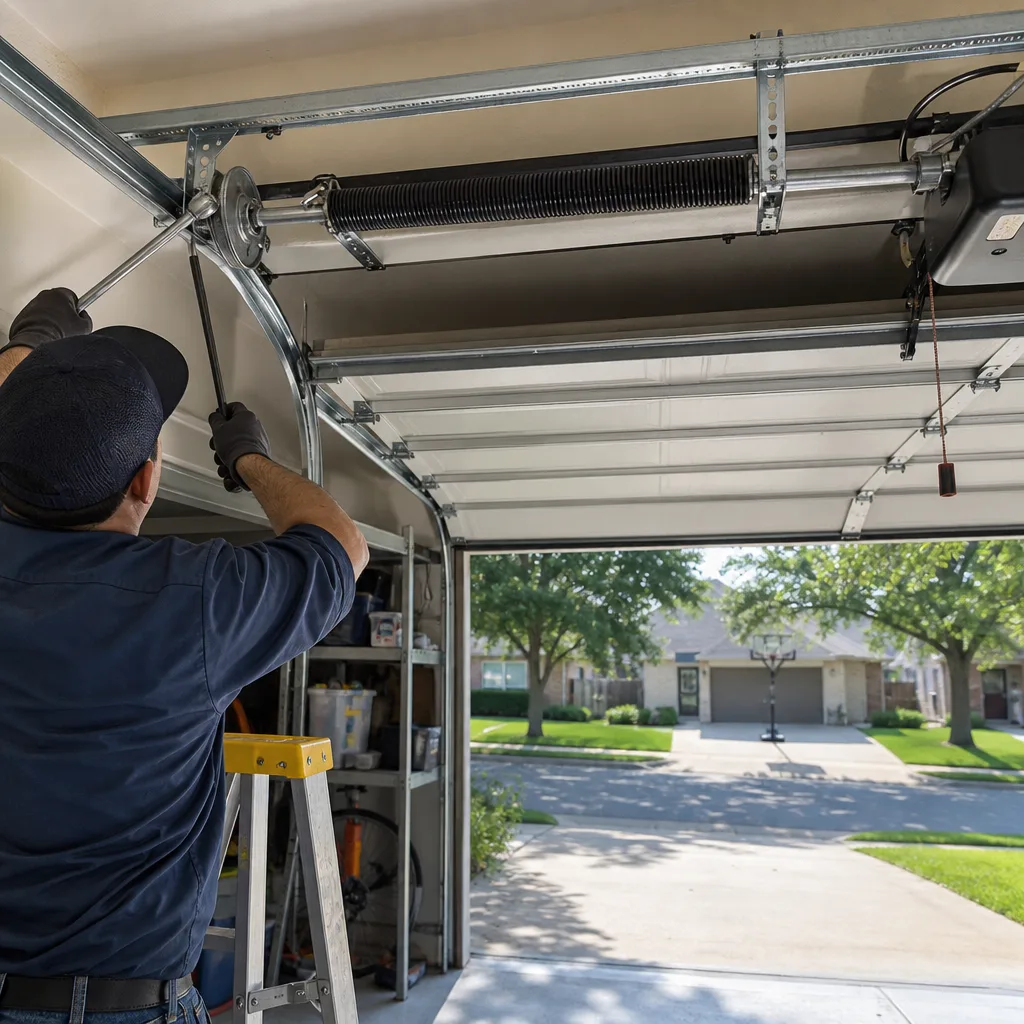
What it is: the tightly wound spring mounted on a metal shaft above the door, which counterbalances the door’s weight. What to look for: a clean break, visible as a two-inch gap in the coil usually near the center or the winding cone; a fine rust line running perpendicular to the coil; any gap between the coils where they should be tight. A clean break means the door will not balance and should not be operated with the opener until the spring is replaced. Strands of rust or a perpendicular fracture are early warning signs. This is a repair we photograph before quoting. Every Servo Garage Doors Arlington home visit includes a photo record of what we found, so if a spring fails, you see the break before you approve the work.
The Cables
What they are: the two steel cables running from the bottom brackets on either side of the door up to the drum at each end of the torsion shaft. What to look for: fraying, which looks like hair-thin steel strands separating from the main cable; rust discoloration; any slack where the cable should be taut. A frayed cable is a break waiting to happen, and when a cable breaks under load, the door can drop suddenly at one corner. That’s a dangerous failure and a reason not to operate a door with visibly damaged cables.
The Rollers
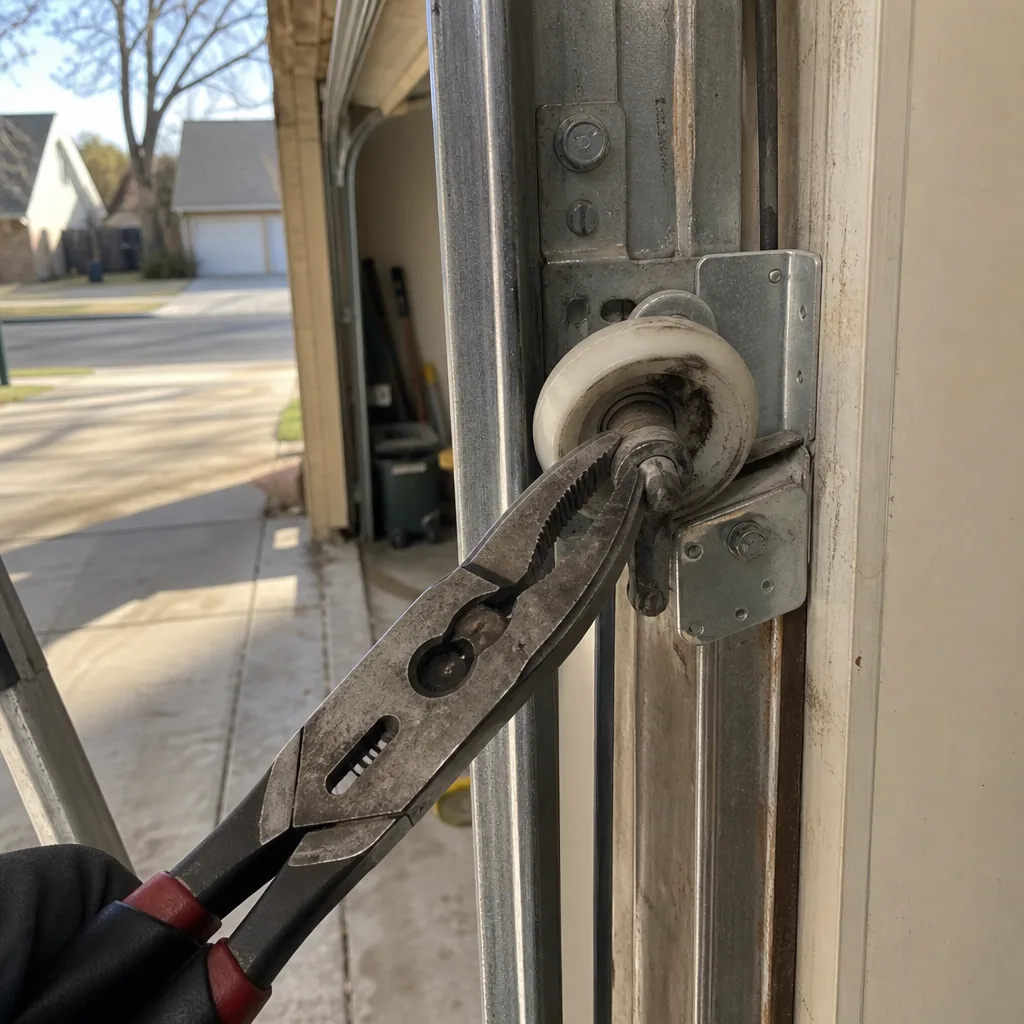
What they are: the wheels that ride inside the vertical and horizontal tracks. What to look for: flat spots on nylon rollers, visible as a small worn area on the rolling surface; wobble; cracked nylon. Steel rollers fail more loudly, nylon rollers more quietly. Both should be inspected. Average roller life in Arlington is three to five years for nylon rollers and less for steel, given the heat and dust.
The Weather Seal
What it is: the rubber strip along the bottom of the door and the vinyl strips along the sides and top. What to look for: cracks, brittleness, daylight visible under the door, or a seal that has pulled away from the track. A failed bottom seal lets Arlington rain, dust, and pests into the garage during storms. It also changes the door’s resting position, which affects force-limit calibration.
The Hinges
What they are: the metal joints connecting door sections, typically numbered one through four starting at the bottom. What to look for: hairline cracks at the hinge plate, loose screws, or a door section that angles when it rounds the curve of the track. A cracked hinge can shear under load, and the door will bind at that point.
How to Document Your Inspections So They Actually Help Later
Here’s the truth about maintenance records: a note that says “door looked fine” is useless three months later. A dated photo of a torsion spring, taken from the same angle and in the same light each time, is a diagnostic tool. When a future repair technician compares your photo from March with what the spring looks like in September, the change is visible. Rust coloration, new gaps between coils, and cable fraying all show up clearly in photos taken with a phone flash. We recommend two specific documentation practices.
First, take four photos every inspection, always from the same positions: the left torsion spring and drum, the right torsion spring and drum, the left cable and bottom bracket, and the right cable and bottom bracket. Store them in a folder or photo album named by date. Six months later, take the same four photos and compare them side by side. This is the single highest-value maintenance habit because it replaces memory with evidence.
Second, write down the results of your two safety tests, including the date and the specific numbers: how many seconds did the door take to reverse, and was the photo-eye response immediate. Safety test drift is gradual. A door that reverses in one second in March and three seconds in September has a component changing, and without written numbers, you won’t notice the difference. We see this documentation gap in Arlington homes often: a homeowner who tested diligently but recorded nothing, and when the door fails, there’s no way to establish when the decline began. Our garage door installation in Arlington work includes baseline photos of every new component before it goes into service, so the comparison starts on day one. Homeowners with existing doors can create the same baseline with the routine above.
What’s Safe to DIY and What Requires a Technician
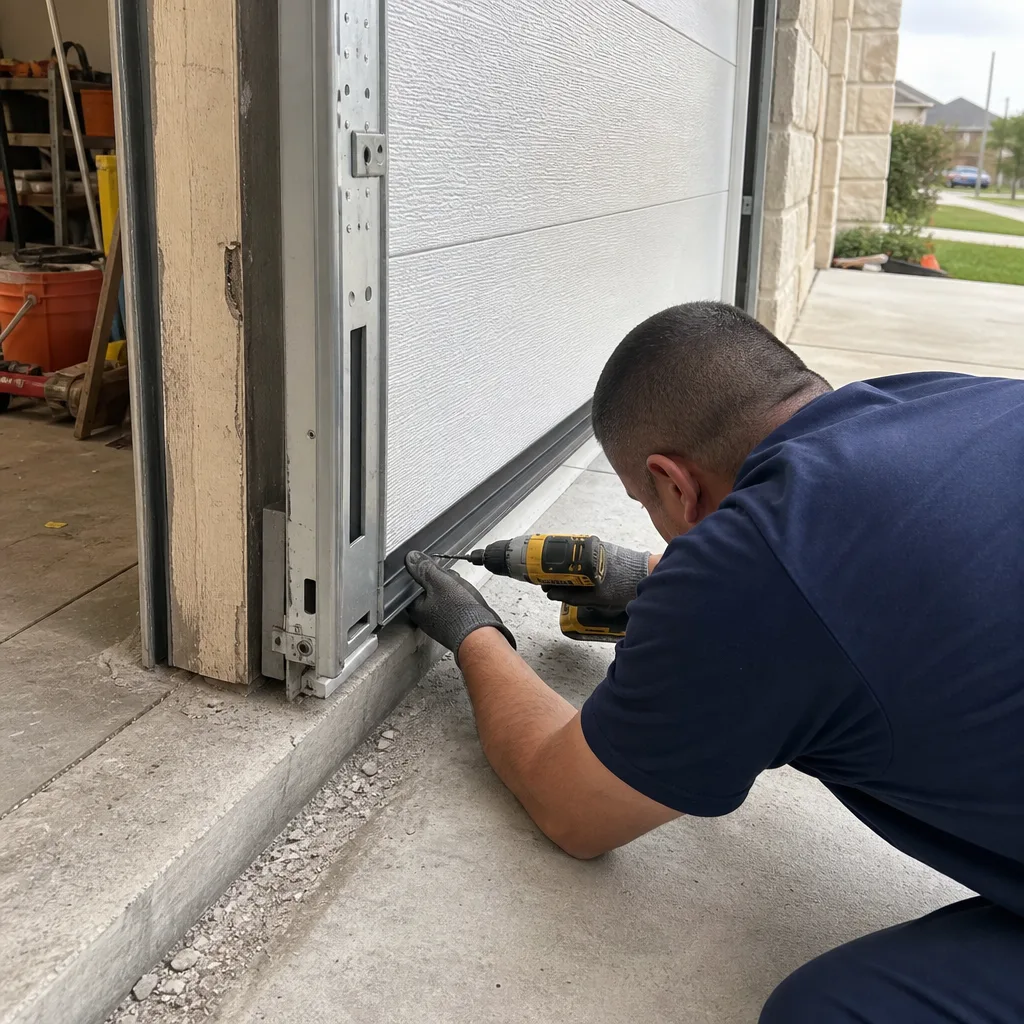
Most garage door maintenance checklists blur the line between what a homeowner can safely do and what should involve a technician. The line is sharper than most checklists admit, and crossing it can cause injury. Here’s where it falls.
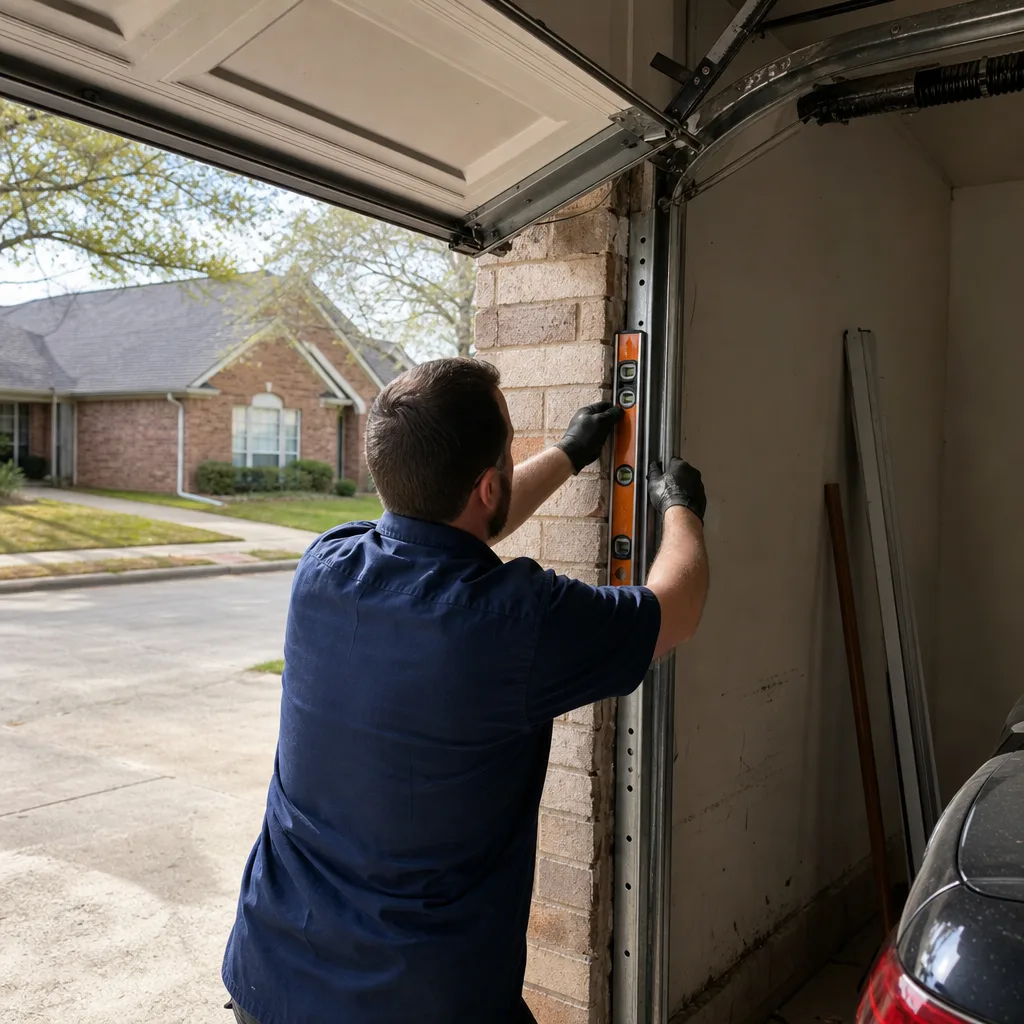
Safe to DIY: lubrication with the correct products, visual inspection of springs, cables, rollers, hinges, and seals, both safety tests, tightening loose hinge screws with a socket wrench, cleaning the tracks with a rag, and replacing the bottom weather seal on most doors. None of these require you to work near stored tension or release any component under load. They are maintenance tasks.
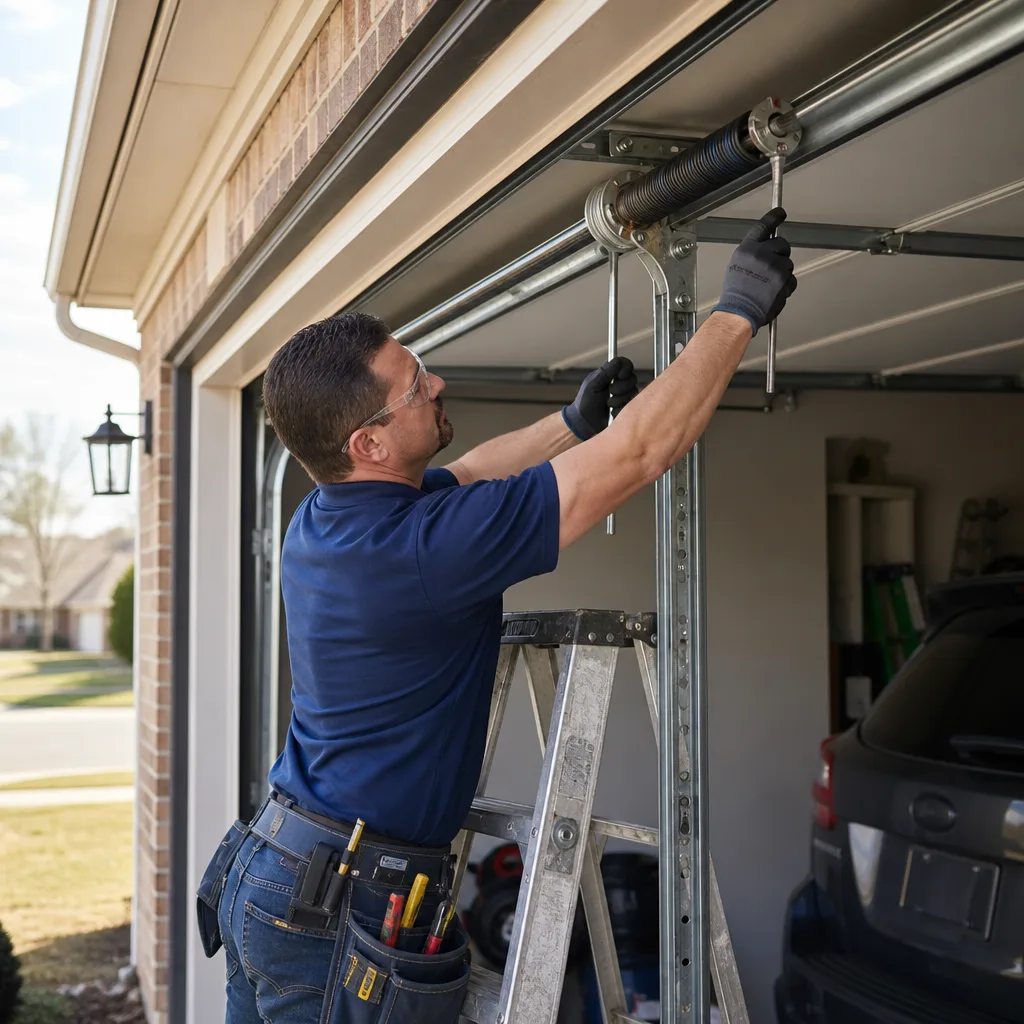
Requires a technician: replacing a torsion spring, replacing or re-threading a cable, replacing a roller in the bottom bracket, adjusting track alignment at the wall brackets, any repair that involves removing or loosening a component under tension. These are repair tasks, not maintenance tasks. The torsion spring on a standard Arlington two-car garage door stores enough energy to lift several hundred pounds. When a torsion spring breaks or is removed improperly, that energy releases suddenly. The cable drums, the winding cone, and the track bolts are all potential projectiles. This is not a caution for inexperience. It’s a caution for everyone, including professionals, who treat springs with a specific sequence that requires a trained hand.
Some checklist items are safe to inspect but not to fix. The force limit, for example, is adjustable by the homeowner on most openers, but the adjustment can mask a failing component. If your door passes the force test only after you raise the limit, you’ve covered up a problem, not solved one. We’ve seen Arlington homes where a homeowner raised the force limit to keep a failing opener working, and the door continued to operate until the day it didn’t. That’s a repair scenario that should have been a maintenance visit.
The Arlington Seasonal Maintenance Schedule
Here’s a month-by-month schedule tuned for Arlington’s climate, not a generic national calendar. It assumes you’re doing the full visual inspection and safety tests monthly, which takes about fifteen minutes.
March (pre-spring): Full maintenance pass. Lubricate springs, hinges, and rollers with the correct products. Inspect weather seals after winter temperature swings. Test both safety systems. If you’re in an older Arlington neighborhood with mature trees, check track alignment, because shifting soil from spring rains moves door framing more than homeowners expect. This is the month to book any non-urgent repairs before the heat arrives.
June (early summer): Safety tests. High heat has not peaked, but the first 95°F days have arrived. Check rollers for wobble, because nylon rollers soften slightly in heat. Confirm the photo eyes are clean and the beam is unobstructed, since Arlington dust accumulates faster in summer.
September (post-peak heat): This is the Arlington-specific inspection that most schedules miss. The summer’s thermal cycling has done its work. Inspect the torsion spring carefully for perpendicular fracture lines and rust spots that weren’t there in March. Check cables for fraying near the drums. Test the force limit, because bottom seals have softened in the heat and the door’s resting position may have shifted. We see a meaningful uptick in Arlington spring failures between late August and early October, and a September inspection catches many of them before they break.
December (winter): Light maintenance pass. Lubricate if you skipped September. Check the weather seal for cold-weather brittleness. Confirm the opener’s remote batteries are fresh. Arlington winters are mild, so the priority here is catching anything that degraded in the fall and addressing it before the spring.
Common Mistakes to Avoid
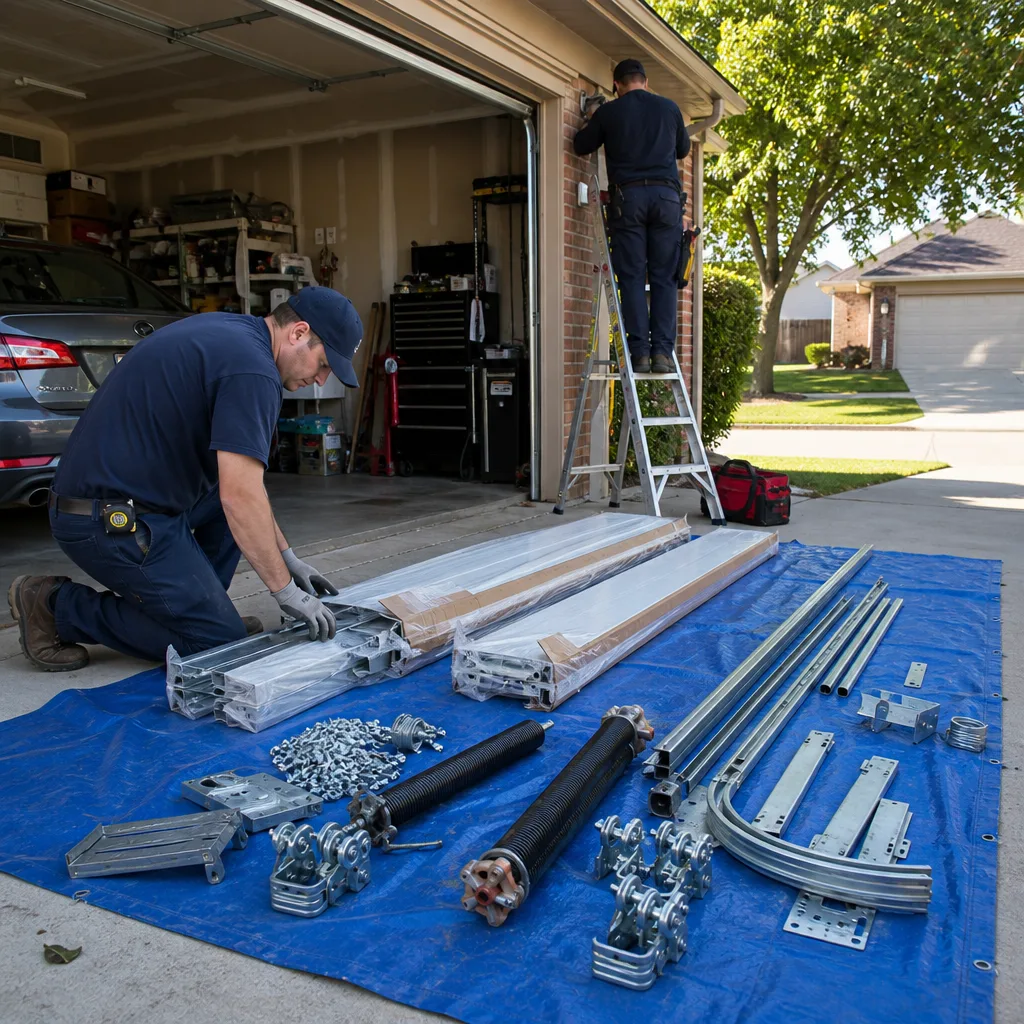
- Using one lubricant everywhere. Hinges, rollers, and springs each need different products for a reason. A lithium grease on a spring accelerates corrosion; an oil on a hinge runs off onto the door surface. The wrong product is worse than no product in some cases.
- Lubricating the tracks. The tracks are guides, not bearing surfaces. Adding lubricant creates a dust-and-grit paste that accelerates roller wear. In Arlington’s dry, dusty months, this mistake compounds quickly.
- Testing only the photo eye, never the force limit. The photo eye test takes five seconds and feels satisfying. The force limit test requires a 2×4 and a little effort. The force limit test catches mechanical failures the photo eye cannot. Skipping it leaves the most dangerous failure mode unmonitored.
- Ignoring a noisy door. A door that’s getting louder is telling you something specific. A grinding sound at the curve of the track usually means a failing roller. A popping sound near the top usually means a spring issue. Noise is diagnostic data, not just an annoyance, and the longer it’s ignored, the more the repair costs.
- Adjusting the force limit to fix a reversing door. If your door starts reversing when it touches the ground or reversing randomly, the problem is not the force setting. It’s usually a failing component, commonly a worn gear in the opener or a shrinking bottom seal. Raising the limit masks the symptom and creates a safety hazard. In Arlington, where summer heat warps seals and changes closing behavior, this specific mistake happens most often between June and August.
- Not documenting anything. An inspection without a record is a feeling, not a fact. Dated photos and written safety test results create the baseline that makes future problems visible early. The documentation routine takes two minutes per inspection and gives you evidence when you need a repair approved, a warranty claimed, or a second opinion evaluated.
- Treating all brands as interchangeable. A Genie opener’s logic board is not a Chamberlain logic board, and a Clopay door’s spring specifications differ from an Amarr door. When purchasing replacement parts or scheduling repairs, the specific brand and model matter. Using a generic spring on a door rated for a specific wire diameter shortens component life and voids warranties. We service all major brands for a reason, and the reason is that they’re meaningfully different.
When to Call a Professional
Some situations warrant a phone call rather than a checklist entry. A torsion spring with a clean break means the door will not balance, and operating it with the opener risks damaging the opener’s gear train. A frayed cable under the bottom bracket is an immediate safety concern, not a maintenance item. A door that fails either safety test after you’ve cleaned the photo eyes and confirmed the beam is clear needs diagnostic attention. If you see a visible gap between the coils of a torsion spring where there wasn’t one before, that’s a spring losing tension. In all these cases, the right move is to stop using the automatic opener and call a technician. Servo Garage Doors Arlington offers free estimates and services all major brands. Call (682) 452-1782 and a real person will answer, not a recording.
Frequently Asked Questions
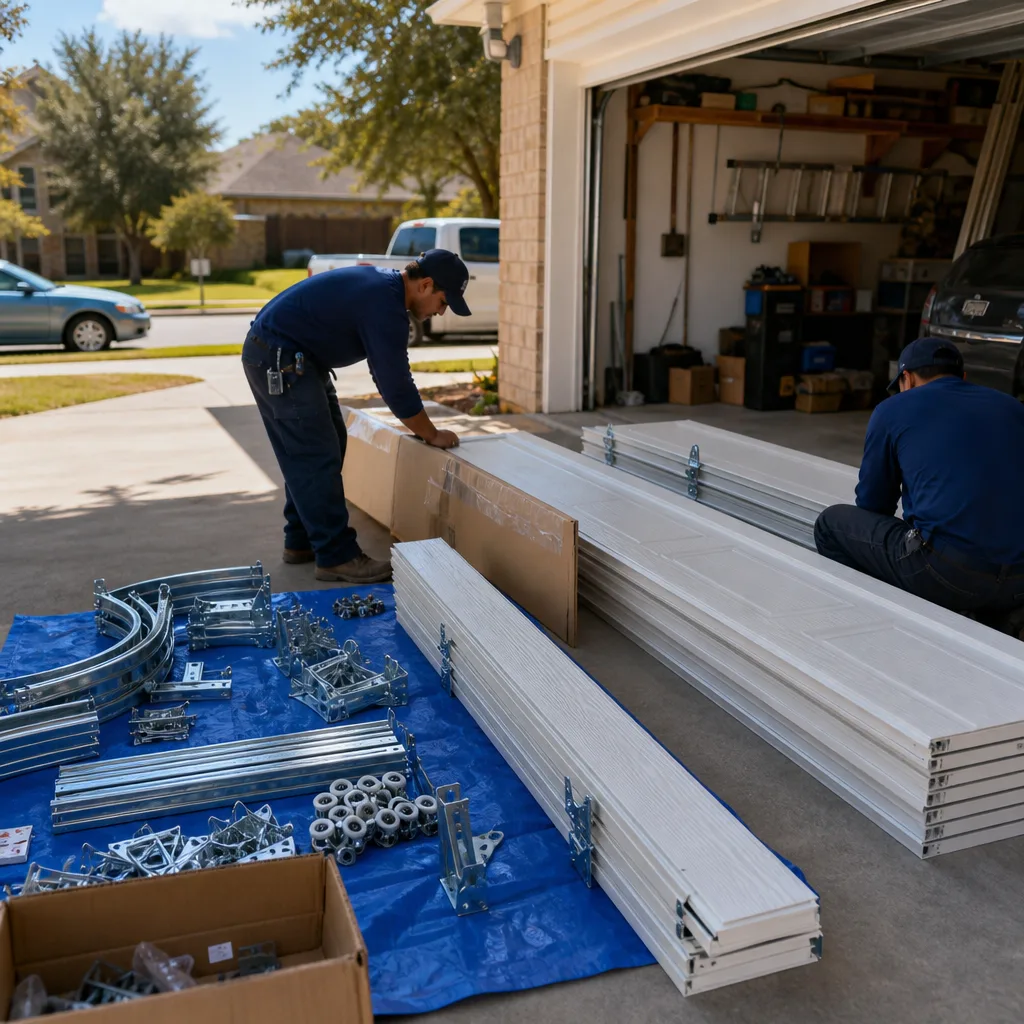
A garage door maintenance checklist for Arlington TX should include monthly safety testing of the auto-reverse and photo eye, visual inspection of the torsion spring, cables, rollers, hinges, and weather seal, and twice-yearly lubrication with component-specific products. See our Garage Door Warning Signs: A Arlington Homeowner’s Reference Guide for what to watch for between inspections. Arlington’s summer heat adds a third inspection in September to catch thermal fatigue that a twice-yearly schedule misses.
Lubricate your garage door twice a year in Arlington, in March and September. The March pass prepares for summer heat, and the September pass addresses the effects of 100°F-plus thermal cycling. Use white lithium grease on hinges, light machine oil on roller bearings, and a spring-specific spray on the torsion spring. Never lubricate the tracks.
The force limit is the amount of resistance a garage door opener will push against before reversing. It matters because a force limit set too high can prevent the door from reversing when it contacts an obstacle, creating a serious injury risk. Test it monthly by placing a 2×4 under the closing door. The door should reverse within two seconds of contact.
Garage door spring replacement in Arlington typically costs between $180 and $340 for a single torsion spring, including the part and labor, and between $250 and $500 for a pair. The exact price depends on spring wire diameter, door weight, and brand. Every job at Servo Garage Doors Arlington is quoted with a flat, written price and written scope before any work begins, per Clause 1 of The Haven Standard. Call (682) 452-1782 for an exact quote, free of charge.
No. Torsion springs are under constant tension and store enough energy to cause serious injury if mishandled. Replacing one requires specific tools, a specific winding sequence, and experience. This is not a DIY task. The cables and winding cone are also under load, creating additional hazards.
In Arlington summer heat, your bottom weather seal softens and expands, which changes how the door meets the ground. The door travels slightly further down than it did in cooler weather, and the opener reads that extra resistance as an obstacle. The fix is usually a seal replacement or a minor travel limit adjustment, not a force limit change. Adjusting the force limit to stop the reversal masks the problem and creates a safety risk.
Yes. We service all eight major brands including Chamberlain, Genie, LiftMaster, Clopay, Amarr, Wayne Dalton, Craftsman, and Raynor. Each brand has specific components and failure patterns, and our technicians carry parts for the most common repairs on the truck. Every visit includes a documented photo record of what was found and what was done, and every quote is a flat, written price before work begins.
The Bottom Line
A garage door maintenance checklist is only as good as the information it captures. Inspect the torsion spring, cables, rollers, hinges, and seals monthly. Run both safety tests and record the results in writing. Lubricate with the right product on the right component, twice a year, plus a September pass for Arlington’s heat. Document everything with dated photos. And when the inspection finds something you can’t fix safely, call a technician who will show you the problem and quote a written price before touching anything. That’s how maintenance becomes evidence instead of guesswork. For more guides & resources, visit our blog.
Written by Marcus Deller, Owner at Servo Garage Doors Arlington, serving Arlington since 2015.